


Prism Grout is synonymous with strength and efficiency in concrete joint completion. This guide equips you with key insights on leveraging prism grout for dense, high-strength joints while ensuring the application process is straightforward, fast and cost-efficient.
Key Takeaways
- Prism Grout is a high-performance, quick-setting grout ideal for concrete joints, known for providing high early strength, crack resistance, uniform color, and resistance to efflorescence, making it suitable for diverse construction projects including DIY.
- The benefits of Prism Grout include its high-performance attributes (such as swift setting and resistance to staining), ease of application with simple tools and techniques, and cost-effectiveness due to its durable formula that requires less maintenance.
- For a successful Prism Grout application, it is essential to follow proper preparation, mixing, and curing techniques, while avoiding common mistakes like high-speed mixing or improper water ratios, and ensuring the ambient temperature is between 50°F to 100°F.
Understanding

At its core, Prism Grout distinguishes itself as a high-performance grout, celebrated for its quick setting formula and efficient cone filling funnel and capabilities. Comprising a calcium aluminate cement-based formula, it is recognized for its ability to provide high early strength and dense grout joints. Prism Grout is offered in a variety of types, including cement-based grout and premixed, efflorescence-free, and crack-resistant sanded grout, all containing aluminum. These can be applied using a cone filling funnel to accommodate diverse project requirements.
The primary function of Prism Grout in concrete construction is to consolidate joints with high early strength, thereby achieving a compact and uniform texture. It enhances resistance to cracking, thereby boosting the longevity and stability of concrete structures. Slump cones can be used to measure the consistency of the grout mixture, and slump testing is a crucial step in ensuring the quality of the concrete.
Unique features of Prism Grout include its uniform color unaffected by tile type, temperature, or humidity, and its special combination of lightweight recycled aluminum and glass and fine aggregate sand, allowing for easy filling of joints.
Benefits of Using

Prism Grout comes laden with a plethora of advantages, making it a top choice in concrete construction. It offers high performance, easy application, and cost-effectiveness, which we will discuss in detail in the following sections.
High Performance
Prism Grout excels in performance due to its:
- Swift setting formula, which results in substantial early strength and dense joints
- Superior stain resistance and preservation of colors that closely match the original sample
- Drier application, yielding exceptional quality and enduring durability that effectively combats stains and mold over time
- High-performance properties, such as superior durability and toughness compared to cement grouts
- Fast filling properties, contributing to its high performance
In addition, Prism Grout offers the following benefits:
- Bolsters the durability of concrete joints
- Provides high early strength, resulting in dense, stain-resistant grout joints
- Quick curing and lightweight properties contribute to the overall integrity and longevity of the joints
- Reduces the likelihood of damage, leading to fewer repairs
These advantages, including fast and easy filling, make Prism Grout a popular choice among customers as it offers fast and easy filling and a suitable quantity in stock.
Easy Application
Another compelling advantage of Prism Grout is its simple application process. Its lightweight, non-clumping properties facilitate effortless mixing into a consistent paste using just a margin trowel. The application process involves several steps:
- Dampen the tile surface
- Apply grout release or pre-seal the tile if necessary
- Remove spacers
- Ensure uniform joint depth and width
- Clear any loose debris
Certain tools are essential for the successful application of Prism Grout, including a grout box approved for the site and tape to secure the grout box during the application process. Interestingly, Prism Grout can also be applied individually by non-professionals, making it suitable for DIY projects.
Cost-Effective
Prism Grout is celebrated for its:
- Cost-efficiency
- Robust formula that reduces the chances of shrinking, cracking, and wearing
- Uniform color without concerns such as shading or efflorescence, leading to reduced maintenance expenses and fewer repairs in the long run
- Time-saving advantages in construction projects through its consistent color with no shading, absence of efflorescence, crack resistance, and being 32% lighter than other groups, resulting in improved handling characteristics.
Moreover, Grout Prism offers the following benefits:
- Hard, dense grout joints that are crack-resistant
- Does not contribute to efflorescence
- Reduces the need for repairs
- Lowers maintenance costs over time
This makes Prism Grout a cost-effective solution for concrete structures.
Proper Preparation for Application
An exhaustive preparation process is pivotal for a successful Grout Prism application. Before applying this Grout, it’s essential to ensure that the tile or stone is securely bonded to a stable surface. The surfaces must be thoroughly cleaned and free from dust, dirt, grease, oil, or other contaminants. Also, allow the setting materials to cure for a minimum of 24-48 hours. Applying masking tape to the face of relief tiles is recommended to prevent sticking, and any excess material should be removed.
The climate conditions during the application process also play a vital role. Here are some important factors to consider:
- The ideal temperature range for applying Grout is between 50°F (10°C) and 100°F (38°C). It’s important to adhere to this range as the product should not be applied in circumstances outside of this temperature range.
- Cool and damp conditions are crucial for successful Grout application.
- The timing for washing the grout can be influenced by temperature, humidity, and tile porosity.
Mixing and Application Techniques

Having completed the preparation, we can now proceed to the actual job of mixing and applying Grout Prism. Understanding the correct methods will ensure the best results and durability of the fresh concrete joints.
Mixing Instructions
The correct process for mixing grout involves:
- Adding 25% of the required water to the mix and blending at low RPMs until it is fully absorbed.
- Then, incorporate the remaining water to achieve the desired consistency, which should resemble smooth peanut butter for floors and be slightly thicker for walls.
- It’s crucial to use only cool, potable water for mixing and blend all dry powders together before adding any water.
The recommended mixing time for Grout Prism is 3-5 minutes. You can mix it using a power tool, such as a drill with a grout mixing attachment, or by hand with a margin trowel. After mixing, Grout Prism should be allowed to sit for 10 minutes to ensure it achieves the proper consistency and is suitable for application.
Application Methods

Several techniques are involved in applying grout, such as:
- Using a mix ratio of 3:1 grout to water by volume and agitating the grout with a margin trowel after adding water
- Using the sponge method, which involves using a damp, small pore grout sponge in a circular motion to smooth and level the joints
- Using the sponge method to eliminate excess grout haze from the tiles during the installation process.
The float method is another common application method, which requires a grout float as the essential tool. The buttering method is also worth mentioning. It involves the application of masking tape to the face of relief tiles before grouting to avoid grout adherence to grooves. The tape should be subsequently removed following the grout application.
Curing Process

The curing process constitutes a vital part of the Grout application. Prism Grout should be cured within the recommended temperature range of 50° F (10° C) to 100° F (38° C) to prevent issues such as:
- uneven drying
- improper cement hydration
- inconsistent grout color
- weakened grout
- color variation
- shrinkage
- cracks
- installation failure.
Grout Prism typically requires 3 days to fully cure, and for wet areas, the curing time extends to 7 days. It’s crucial to follow the manufacturer’s recommended curing time for proper curing and durability of the grout.
Also, in hot, dry, and windy conditions, it’s recommended for customers to intermittently mist the installation with clean, cool water for 3 days, and refrain from covering the grout for a minimum of 24 hours to ensure proper curing.
Common Mistakes to Avoid
Despite the ease of applying Grout, users should steer clear of some common errors to achieve optimal results. High-speed mixing is a common error that can lead to the introduction of air into the mixture, impacting the grout’s integrity. Additionally, Prism Grout should not be applied for joint widths larger diameter than 1/2 inch.
Maintaining the water-grout ratio is crucial to ensure proper drying of the mixture and to prevent excessive moisture, which could compromise grout strength or lead to drying issues. Hastening the application of Prism Grout can result in an uneven finish and premature drying, leading to a tougher mixture that is challenging to handle. It’s also crucial to follow the manufacturer’s recommended curing time for proper curing and durability of the grout.
Lastly, here are some tips for using Prism Grout:
- Avoid using it in extremely hot or cold temperatures to prevent improper curing.
- It’s recommended to apply Prism Grout at temperatures over 50°F (10°C).
- Steer clear of freezing conditions.
Tips for Maintaining Grout Joints
Preserving Grout Prism joints is key to guarantee the long-lasting durability of concrete structures. Signs of damage over time can include regular wear and tear, moisture, improper installation, or building or wall movement. The recommended maintenance practices for managing prism grout joints involve minimizing excess water on the surface, utilizing a sponge and clean water for cleaning, and adhering to the instructions outlined in the installation guide.
The installation of Grout Prism should be avoided when the ambient surface temperature is below 50°F (10°C) or above 100°F (38°C). Additionally, ambient and surface temperatures, as well as humidity, can influence the curing time. It’s essential to pay attention to these factors when maintaining Prism Grout joints.
Case Studies: Successful Grout Projects
Grout Prism has proven successful in a wide array of construction applications, showcasing its efficacy and adaptability. It has demonstrated success in diverse construction applications, particularly those for products requiring high early strength and dense grout joints up to 1/2 inch in diameter. Additionally, it is available in 40 designer colors and meets LEED certification requirements.
An exemplary use of Grout Prism is evident in the constructed One World Trade Center, where it was mixed on-site. Workers leveraged its convenient mix formula to achieve the full quantity without waste. This ensured the desired outcomes and optimal performance of the applied grout. Prism Grout has been commonly used in residential construction projects due to its rapid setting formula, which enhances high early strength and dense grout joints. It also contains a unique blend of lightweight recycled glass and fine aggregate sand.
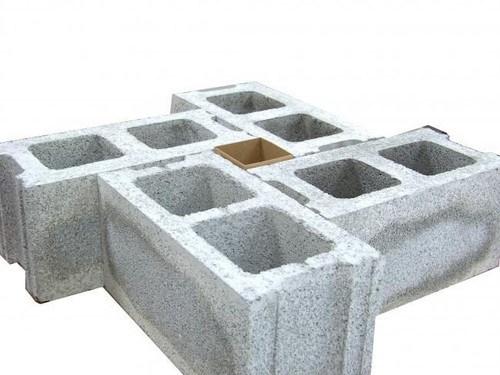
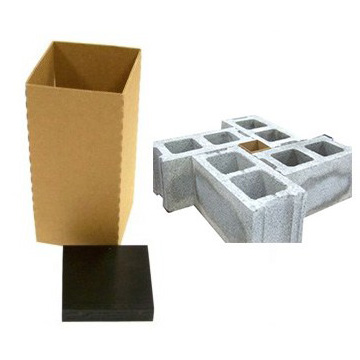
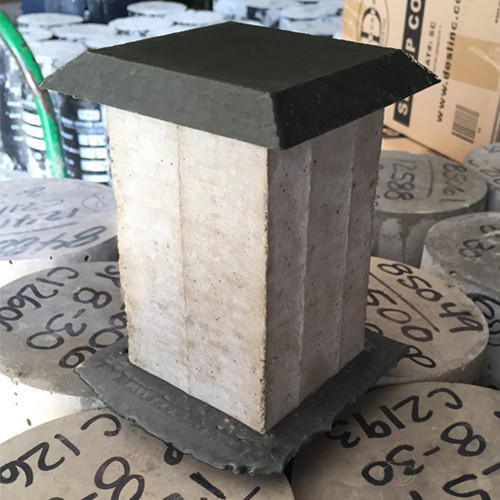
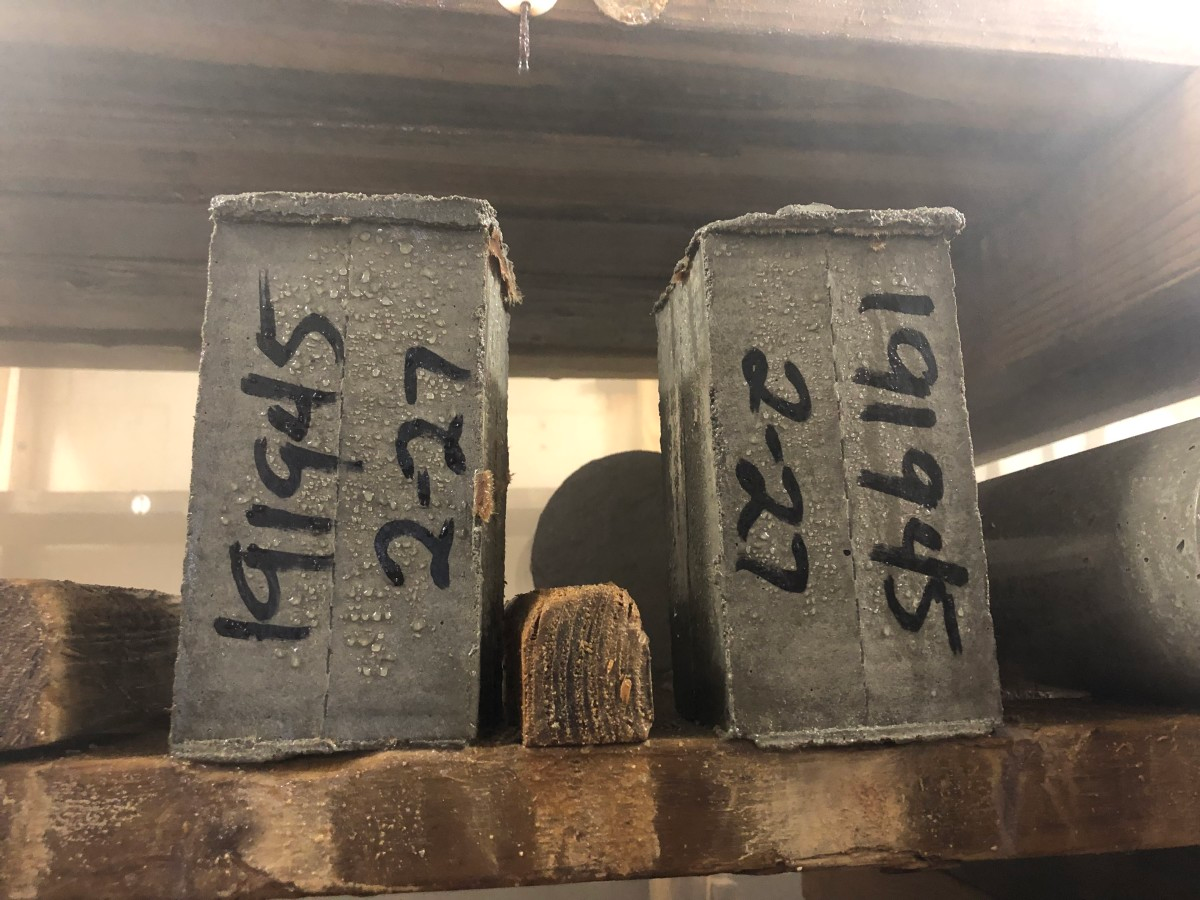
Moreover, Prism Grout has been effectively employed in various commercial projects, including community ice rink showers and public bathrooms. It has also been used in an NHL arena for infrastructure purposes and for creating field grout prisms. These prisms are crucial for conducting compressive strength testing and ensuring the durability of the structures.
Summary
To wrap up, Prism Grout, with its high performance, easy application, and cost-effectiveness, stands out as a superior solution for concrete construction. Its unique features, such as high early strength, dense grout joints, and a wide range of colors, make it a preferred choice for both professionals and DIY enthusiasts. By following the right preparation, mixing, and application techniques, and avoiding common mistakes, one can ensure the longevity and durability of concrete structures using Prism Grout.
Frequently Asked Questions
Is Prism good grout?
Yes, grout is considered good because it has high early strength, dense joints, and high stain resistance, making it superior to other grouts. It also has a smooth consistency, making it easy to spread and clean.
Should this grout be sealed?
No, grout does not require sealing for stain resistance.
Will this grout scratch tile?
Yes, some ceramic tile, marble, or stone can be scratched by sanded or pigmented grout. Be cautious when using prism grout with these materials.
How long does grout take to cure?
Grout takes 3 days to cure for intermittent water exposure, 14 days for submerged applications, and at least 7 days for exterior applications with temperatures above 50°F.
What is a funnel cone?
A funnel cone can refer to the cone-shaped tool used to pour liquid into a small opening, a funnel or it can describe the shape of a tornado, often referred to as a funnel cloud.


