


Are you seeking a durable solution for bonding materials in moisture-prone environments? Waterproof epoxy glue offers exceptional strength and resilience, even when submerged or exposed to wet conditions. In this article, we explore testing the various types of waterproof epoxy and their applications, ensuring you choose the right product for a reliable, long-lasting bond.
Key Takeaways
- Waterproof epoxy glue selection depends on surface type, application area, and desired strength, with different types formulated for materials like wood and metal, some offering up to 10,000 PSI compressive strength.
- Epoxy adhesives are highly effective due to their near insolubility in water, structural integrity under prolonged submersion, moisture tolerance, and robust curing process forming strong, durable bonds.
- Surface preparation for epoxy glue application is crucial, requiring surfaces to be clean, dry, and stable, with finishes like paint removed and loose material cleaned off, adhering to specific cleaning methods for different materials.
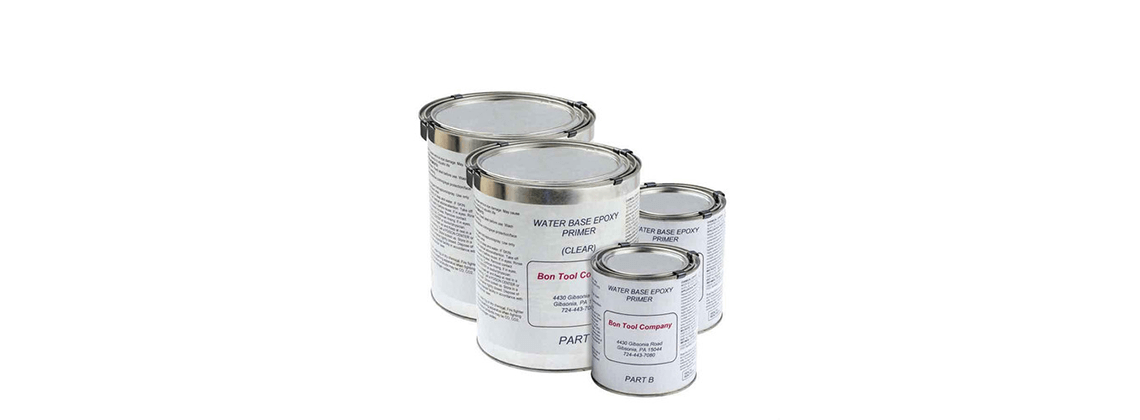
Choosing the Right Waterproof Epoxy Glue
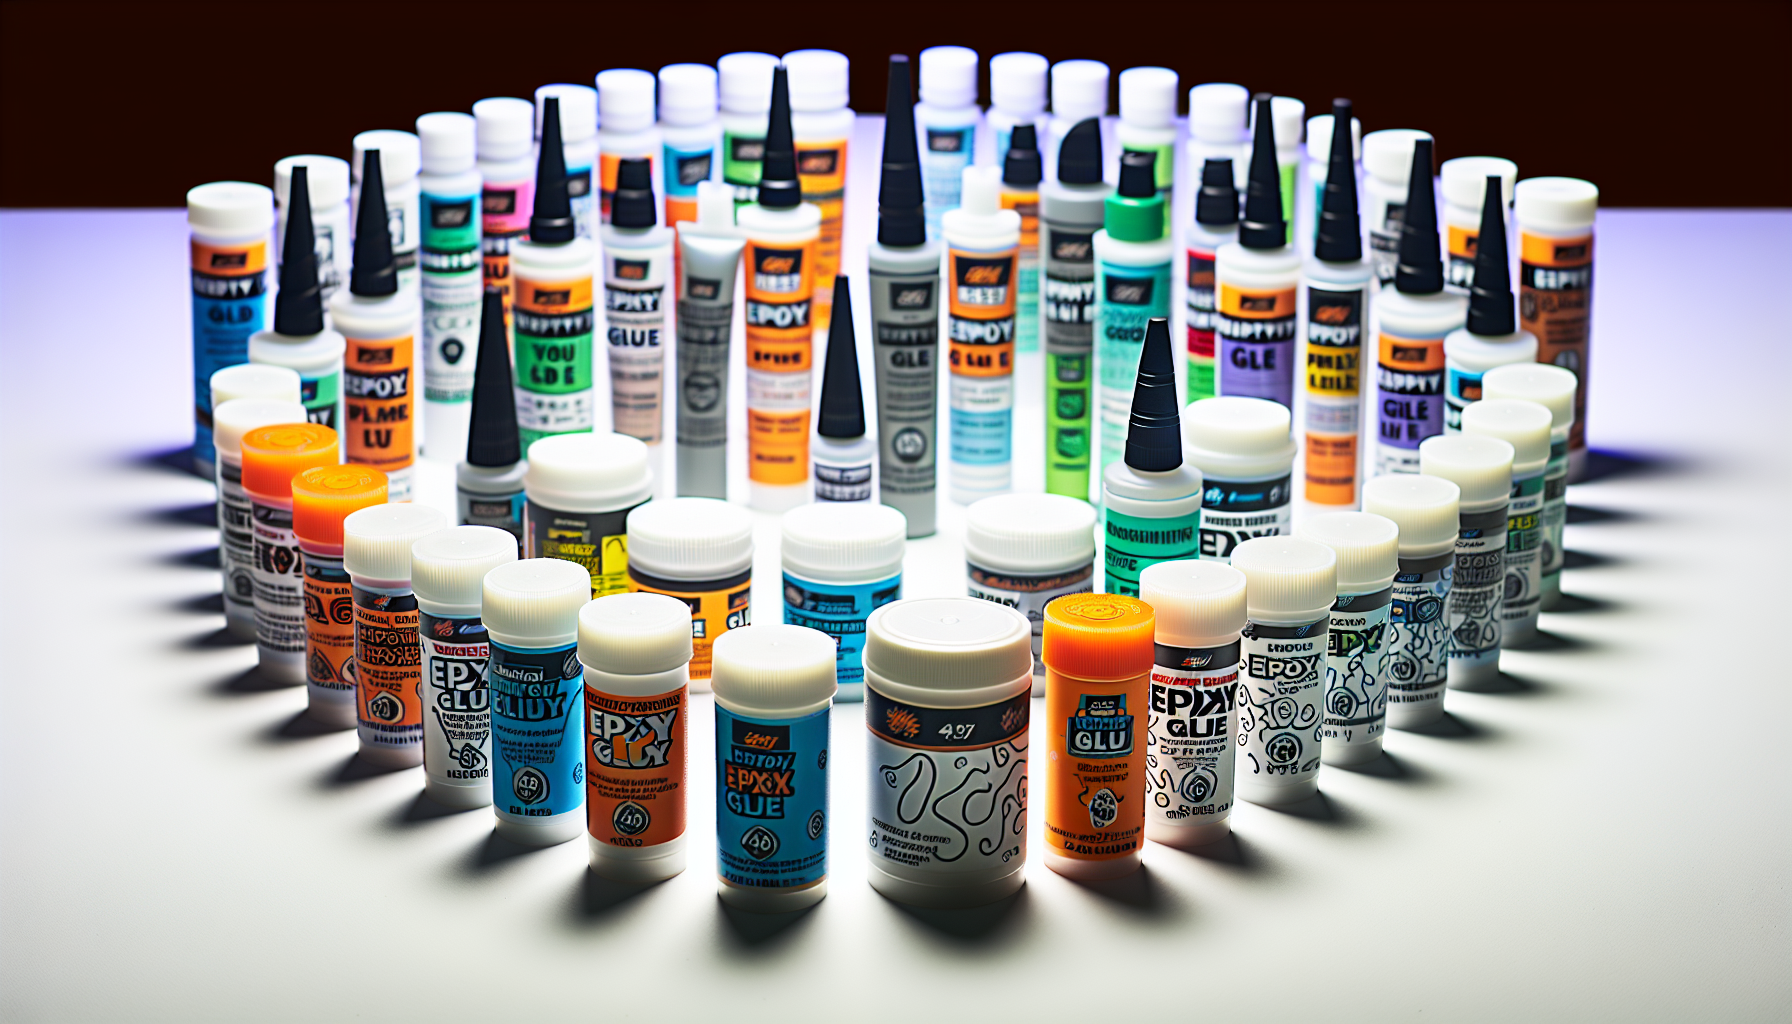

The wide range of epoxy injection products, including injection resins, on the market can appear intimidating. However, understanding your specific needs will guide you in making the right choice. You’ll need to consider the type of surface you’re working on, the application area, and the desired bond strength. For instance, Titebond III Ultimate Wood Glue is ideal for wood surfaces, while Gorilla Epoxy is better suited for metal due to its fast-setting and strong bonding capabilities.
Waterproof epoxy glue is available in a variety of forms, including:
- Two-part epoxy
- Marine epoxy
- Clear epoxy
- High-temperature epoxy
- Quick-setting epoxy
Each is suitable for different surfaces, including wood. The bond strength varies among different waterproof epoxy adhesives, with some products demonstrating impressive compressive strengths of up to 10,000 PSI and high tensile strength, thus providing a strong solution for various bonding needs.
The Science Behind Waterproof Epoxy Adhesives
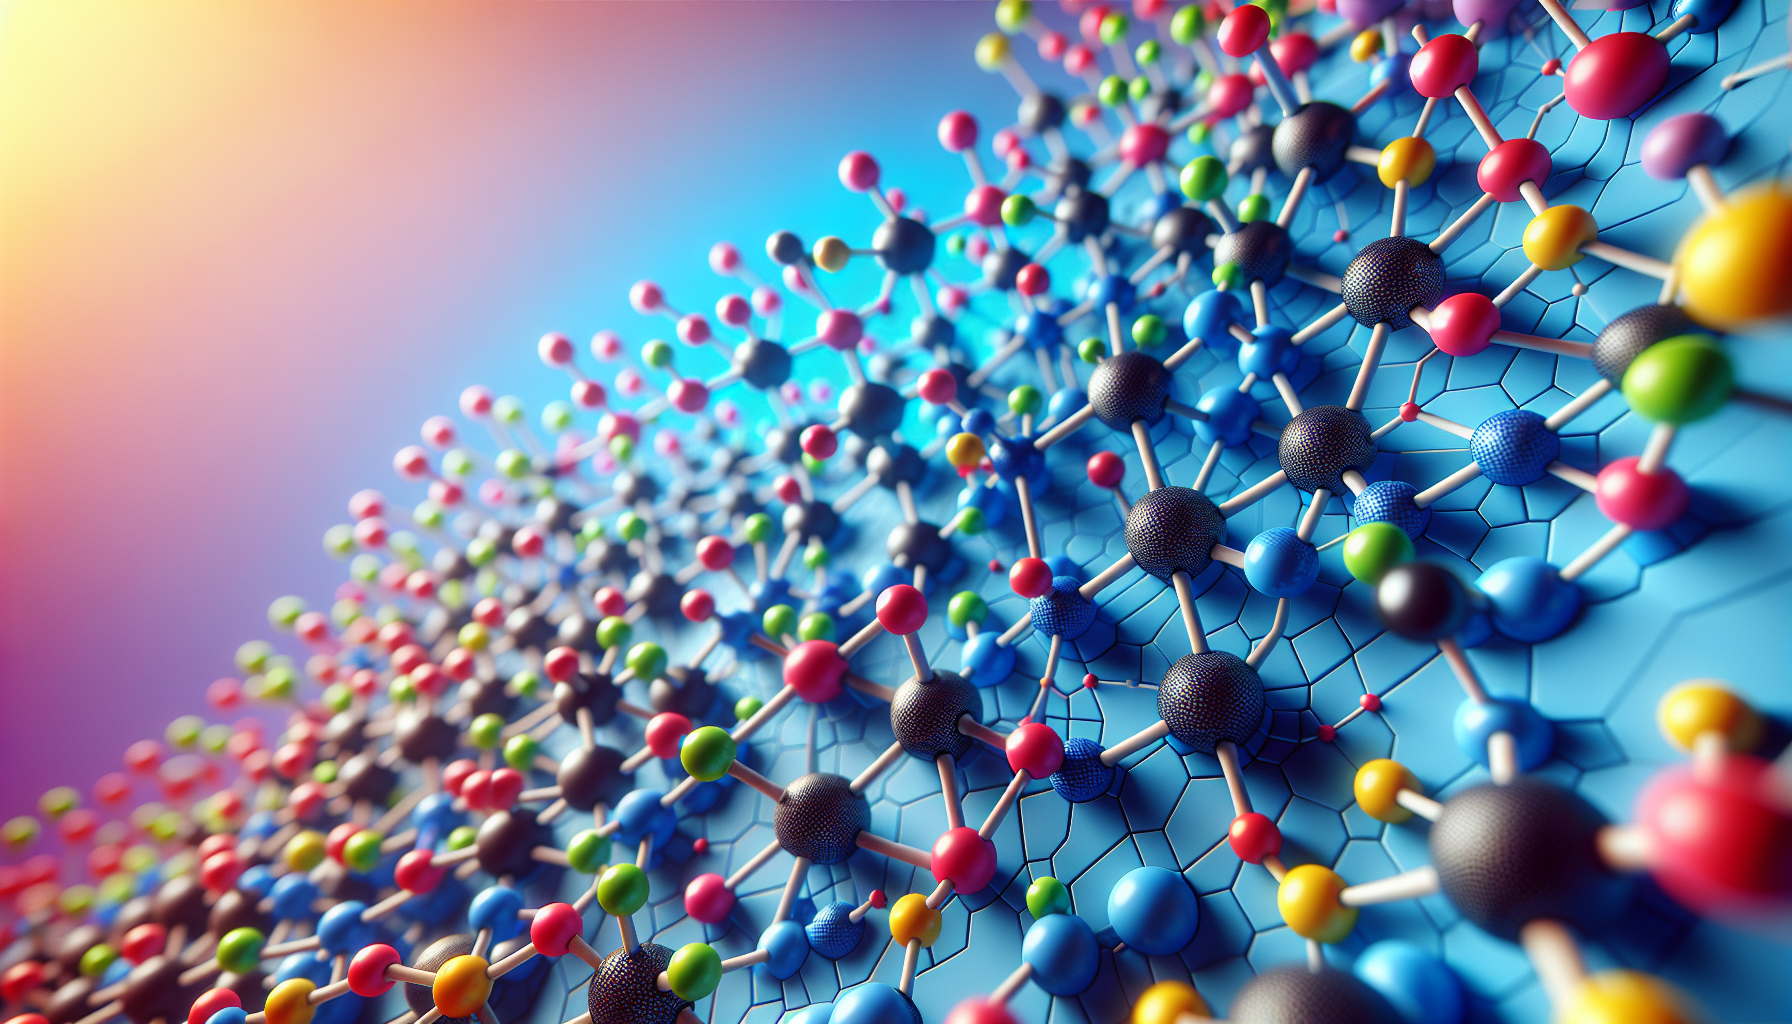

What makes epoxy adhesives so effective? The answer lies in their unique chemical characteristics. Waterproof epoxy adhesives possess the following characteristics:
- Near insolubility in water, thanks to their chemical composition that prevents penetration by liquids and solids
- Ability to maintain structural integrity even during extended submersion
- Enhanced tolerance to moisture
- Excellent bonding performance
These characteristics make epoxy adhesives highly effective for various applications.
Epoxy adhesives form bonds through a curing process, wherein small resin molecules combine to form large polymer chains. This chemical reaction is what creates a robust, long-lasting bond capable of withstanding substantial stress and sealing cracks effectively. However, it’s worth noting that environmental factors like moisture can impede the process, potentially causing premature completion of the curing process or create a cloudy appearance in the cured epoxy.
Preparing Surfaces for Epoxy Glue Application
Before you can apply epoxy glue, the surface requires adequate preparation. It is critical that the surface is clean, dry, and sound, especially when working with structural concrete, as this significantly impacts the performance of the epoxy adhesive. If the surface is painted or varnished, these finishes need to be removed using a commercial paint stripper. Afterwards, the surfaces should be sanded down to the bare wood. In the case of concrete repair, the surface needs to be cleaned and any loose or damaged material removed before applying the epoxy adhesive.
Proper cleaning is key in preparing various surfaces before applying epoxy glue for crack repair. Here are some cleaning recommendations for different surfaces:
- For laminate surfaces, use isopropyl alcohol.
- Metal surfaces should be degreased with a solvent or rubbing alcohol.
- General surfaces can be washed with a slightly alkaline solution and wiped with a lint-free cotton cloth dampened with denatured alcohol.
Step-by-Step Guide to Applying Waterproof Epoxy Glue ->

Now that we’ve discussed how to choose the right epoxy glue and prepare the surface, let’s move onto the application process. This involves several important steps including mixing the components, applying the epoxy glue, and allowing it to cure.
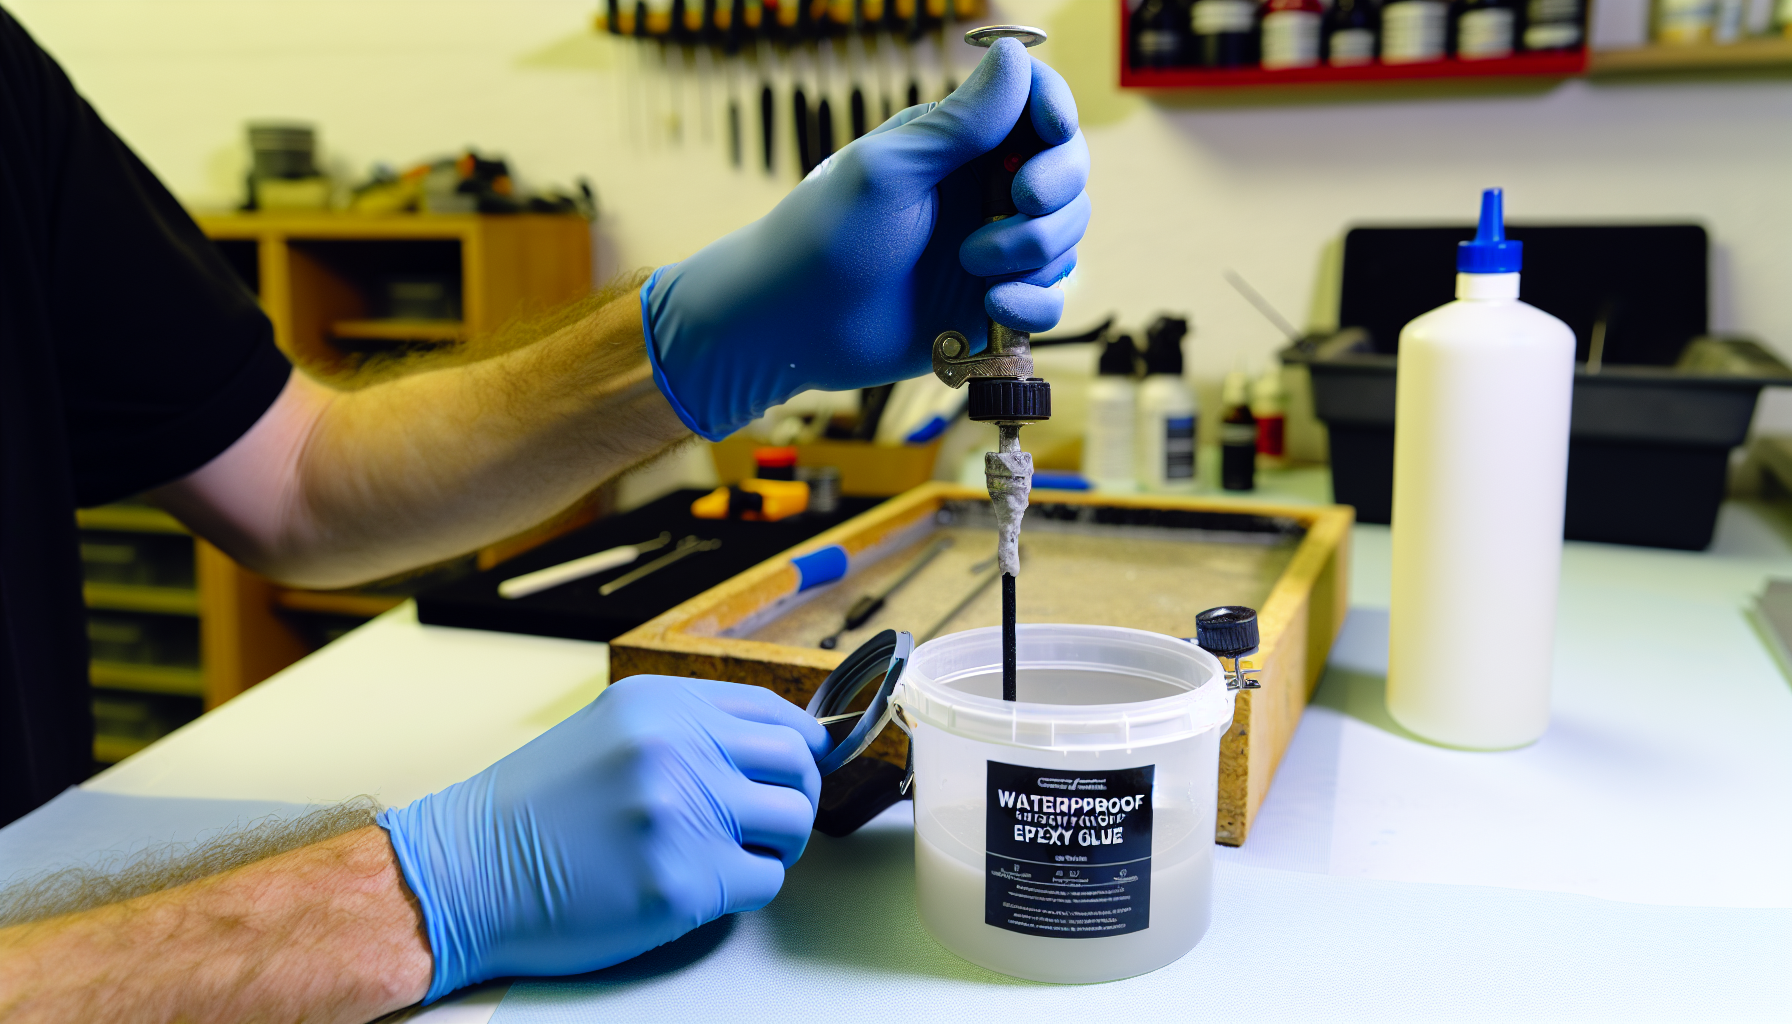
Mixing the Components
The first step in the application process is mixing the epoxy components. This stage is critical because the epoxy resin and hardener need to be combined in accurate proportions, usually 2:1 by volume, and thoroughly mixed for a minimum of 2-3 minutes or more for larger volumes to guarantee optimal performance. To ensure proper mixing of ZeraSeal™ PS, it is recommended to mix the components thoroughly in equal parts for 2 minutes. A drill with a slow speed setting and a mixing blade is recommended for this process.
Using calibrated measuring cups can help achieve precise measurements, while plastic stir sticks or spreaders are useful for ensuring thorough mixing. It is crucial to use plastic tools to prevent any undesired reactions with the epoxy resin. Improper mixing of the epoxy resin and hardener can result in decreased bond strength and compromised physical properties, leading to issues such as the epoxy hardening too quickly, too slowly, or not at all.
Application Process
After the epoxy components have been properly mixed, the next step is to apply the epoxy to the prepared surface. A variety of tools such as a small squeegee, a thin piece of plastic like a credit card, or a foam roller for applying thin coats can be used to ensure a smooth and even layer of epoxy. If you’re applying epoxy resin to wooden floors, start from the farthest corner of the room and work backward toward the exit. Use a short nap 6 mm roller, such as for a product like ZeraSealTM PS, to ensure an even coat across the entire floor area before allowing it to dry and applying a topcoat.
The application process for non-wooden surfaces involves the following steps:
- Clean the surface.
- Ensure the surface is dry.
- Mix the epoxy.
- Apply a thin coat to seal the surface.
- Spread the epoxy evenly with an epoxy spreader or heat gun.
- Allow it to cure according to the manufacturer’s recommendations.
Curing Times and Conditions
Curing is the final stage of the epoxy application process. The optimal temperature for curing waterproof epoxy glue is between 65 and 85 degrees Fahrenheit, while the ideal humidity conditions range from 50-60%, not exceeding 85%. The application of heat to waterproof epoxy glue can expedite the curing process, leading to a swifter cure.
The typical duration for the curing process of waterproof epoxy glue can vary, but it generally ranges between 24 to 72 hours to achieve a solid, touchable epoxy surface. However, the curing times of different brands of waterproof epoxy glue can vary. Fast-setting types can cure in 24-48 hours, while slow-setting types may take 4-7 days to cure.
Advanced Tips for Epoxy Crack Injection
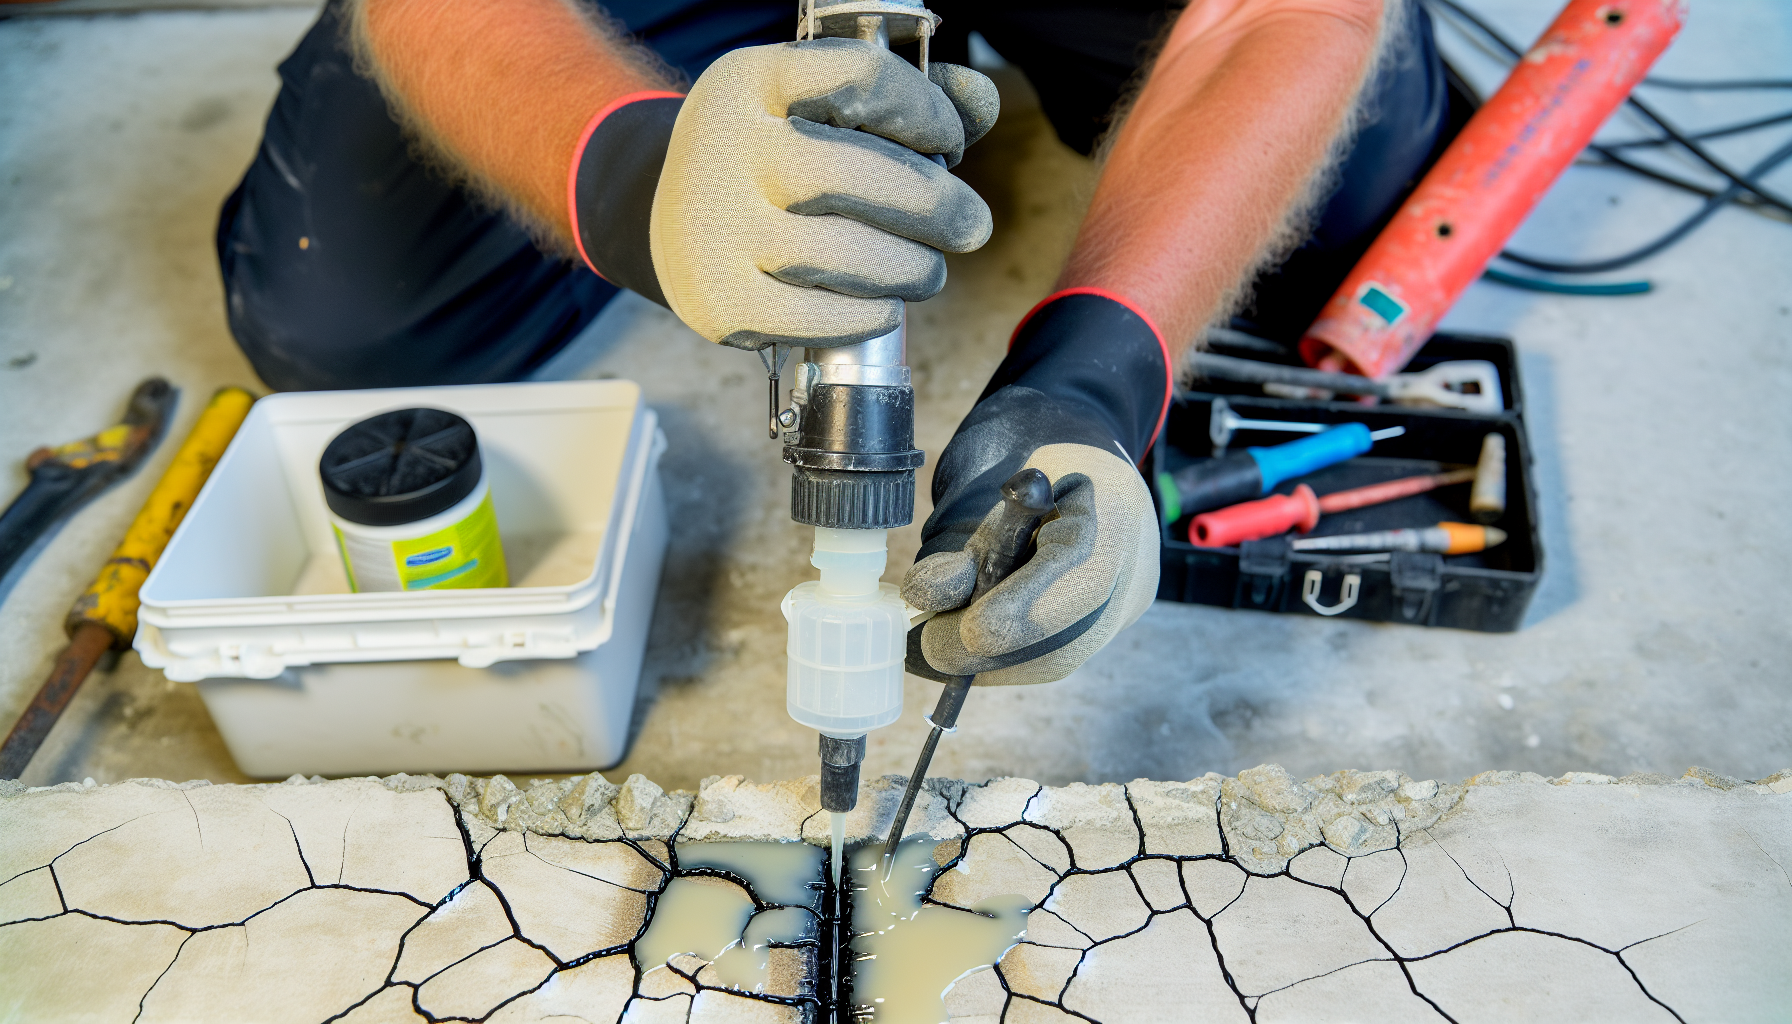

Sometimes, waterproof epoxy glue is needed for more specialized applications, like epoxy injections into small cracks and crevices. Epoxy crack injection, like ULV #4 Ultra Low Viscosity Epoxy is used for structural repair of cracked concrete through pressure injection, grouting, monolithic restoration of delaminated concrete, and gravity feed repairs. The process of epoxy concrete crack injection involves the use of low-pressure injection of ULV #4 Ultra Low Viscosity Epoxy. This method effectively addresses concerns such as water ingress, compromised joints, and corrosion of steel reinforcements and rebar in structures.
The specified curing time for ULV #4 Ultra Low Viscosity Epoxy is approximately 4 days. It is recommended to apply the epoxy only when the concrete temperature is at or above 40 degrees F (10 degrees C).
Waterproof Epoxy Solutions for Wood Decks and Surfaces
With its high durability and moisture resistance, waterproof epoxy glue is an ideal choice for wood deck restoration and protection. Epoxy resin serves to protect and potentially restore various types of wood, regardless of their age. When applied as a sealer on wood decks, epoxy can effectively prevent issues such as:
- rotting
- cracking
- peeling
- chipping
While preserving the natural appearance of the rest of the wood surface.
One such product being tested is ArmorDeck, a deck coating that provides:
- A resilient surface that effectively resists peeling
- Long-term durability
- Semi-transparency that allows the natural wood grain to be visible
- Water resistance for the deck
This makes ArmorDeck a reliable choice for deck maintenance.
Common Mistakes to Avoid with Epoxy Glue
While epoxy glue is a powerful tool, it is not without its challenges. The correct mixing of epoxy components is vital for achieving a strong cure. The epoxy resin and hardener must be combined in precise ratios to achieve the desired properties and guarantee proper curing. Inadequate mixing can result in an unsuccessful cure, compromising the adhesive bond strength.
Another common pitfall is inadequate surface preparation. Surface preparation is necessary before applying epoxy glue because lack of proper preparation can cause substandard adhesion, reduced durability, and contamination issues.
Maintaining a temperature of at least 75°F and humidity levels between 50-60%, preferably but not exceeding 85%, is also important for ideal curing, as it ensures a moisture tolerant environment.
Multi-Purpose Uses of Waterproof Epoxy Glue
Waterproof epoxy glue has extensive applications in various industries, including:
- Electronics
- Medical
- Fiberglass repairs
- Carpentry and woodworking
- Filling cracks in wood or metal objects
- Reinforcing bolts
- Establishing a waterproof layer with epoxy resin.
In marine applications, waterproof epoxy glue is frequently used to bond materials, repair surfaces, and provide a waterproof barrier to safeguard against water damage. It can also be used in automotive repairs to seal and repair components susceptible to moisture exposure.
For structural repairs, it can be used for tasks like welding cracked concrete walls, fixing foundation crack and structural very fine cracks, repairing bridge decks, and addressing slab on grade issues, as well as to seal cracks.
Comparing Epoxy Glue with Other Sealants and Adhesives
While epoxy glue is an excellent choice for many applications, it’s important to understand how it compares with other common sealants and adhesives. Other categories of sealants and adhesives include:
- Cyanoacrylates
- Urethanes
- Acrylics
- Carpenter’s glue
- Polyurethane glue
- Silicone adhesives
- MS Polymer adhesive
Epoxy glue stands out due to its superior shear, impact, and peel strength, with a bonding strength of up to 3,500 psi, making it one of the most robust adhesives available. Moreover, it can adhere to a wide range of surfaces, including plastics, metals, glass, ceramics, wood, chipboard, and more, setting it apart from virtually all other adhesives.
Troubleshooting Common Epoxy Glue Issues
Despite following best practices, users might encounter some common issues with epoxy glue. These can include:
- The resin not hardening as expected
- The presence of fish eyes
- Soft or sticky spots on the surface
- Difficulty in spreading viscous epoxy
- Cloudiness after hardening
- Bubbling or deformities
- Dullness post-curing
- Insufficient coating on the target surface
To mitigate these potential issues, it’s important to:
- Conduct proper surface preparation by cleaning and abrading
- Roughen the surface to increase grip
- Utilize surface treatments such as primers
- Modify the epoxy formulation with different fillers to achieve the optimal bond for your specific application
- Ensure proper ventilation and use of protective gear
- Follow recommended ratios and curing times
- Take precautions to prevent the formation of bubbles during application
By following these steps, you can help avoid common problems when working with epoxy.
Summary
In conclusion, waterproof epoxy glue is a versatile and powerful tool for a wide range of applications, from preserving the charm of a beloved wooden deck to repairing a cracked concrete wall. By understanding how to choose the right epoxy, prepare surfaces, and apply the epoxy properly, you can ensure successful bonding and sealing. With a little knowledge and practice, you can confidently use waterproof epoxy glue in your next project, whether it’s a simple repair or a large-scale restoration.
Frequently Asked Questions
Can epoxy be waterproof?
Yes, once cured, epoxy resin is waterproof and can prevent the permeation of water, oils and other liquids or solids.
Does epoxy glue work underwater?
Epoxy glue can work underwater as it is generally water resistant, but it may not be suitable for continuous immersion in water for certain applications. It can be used for projects requiring high bonding strength on surfaces exposed to various temperatures during water immersion, and it can cure underwater.
Can epoxy glue be used on any surface?
Yes, epoxy glue can adhere to a wide range of surfaces, such as plastics, metals, glass, ceramics, wood, sand, and chipboard, but it’s important to select the appropriate type of epoxy for the specific surface.
What’s the importance of proper surface preparation before applying epoxy glue?
Proper surface preparation is crucial before applying epoxy glue as it ensures optimal adhesion, impacting its performance and durability.
What’s the significance of mixing epoxy components correctly?
It is crucial to mix epoxy components correctly to ensure a strong epoxy cure and maintain adhesive bond for high strength enough. Incorrect mixing can lead to an unsuccessful cure.
Related Blogs for Epoxy:
Ultimate Strength Epoxy Gel: The Reliable Adhesive Solution
Top Deck Epoxy Sealer for Durable Wood Finish
Correctly Measure Cracks and Fissures with a Concrete Testing Product
What is Non-Destructive Testing of Concrete?
Ultrasonic Pulse Velocity Test | Concrete Non-Destructive


