


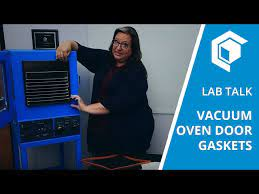
A well-maintained Sheldon Lab oven is an essential tool in any laboratory setting. One of the critical components ensuring its proper functioning is the oven door gasket. Keeping this gasket in good shape not only guarantees the oven’s efficiency but also prolongs its lifespan. This guide will walk you through identifying when a gasket needs replacement, the step-by-step process of replacing it, and how to ensure your oven performs optimally following the replacement.
Key Takeaways
- Recognize the need for a Sheldon Lab Oven Door Gasket Replacement and take necessary safety precautions.
- Use a screwdriver to remove the old gasket, then replace it with one made of silicone that is properly aligned and secured.
- Test the seal after installation, regularly check temperature/cooking time/heat distribution And seek professional assistance if any issues arise.
Recognizing the Need for a Sheldon Lab Oven Door Gasket Replacement


Maintaining your Sheldon Lab oven’s efficiency begins with identifying when the door gasket needs replacement. Cooking unevenly, heat leakage, or visible damage such as cracks, tears, or fraying are signs that it’s time to replace the gasket. A deteriorated gasket can lead to your oven working harder to reach the right temperature or prolonging the cooking time of your samples.
Inspect the oven gasket for signs of wear and food residue to determine if it needs replacement. Should you spot any of these signs, replace the gasket promptly to maintain the oven’s efficiency and temperature consistency.
Safety Precautions for Replacing an Oven Gasket

Safety should always be your top priority when tackling any home repair, including replacing an oven gasket. Before starting, ensure that the task can be completed safely. If you smell gas or suspect a gas leak, leave the house immediately and call for professional help. Adhere to safety guidelines and precautions to prevent complications during the gasket replacement.
When replacing the gasket, disconnect the power supply and turn off the gas valve to prevent the risk of electric shock or gas leaks while the oven operates. Wear protective gloves to safeguard your hands while working around the oven’s metal plates and sharp edges.
After successfully replacing the gasket, lock the oven door and shut it overnight to facilitate the settling of the new gasket and ensure efficient and safe oven operation.
Locating and Removing the Old Gasket
Before installing a new gasket, you must locate and remove the old one. Once removed, re-enter the new gasket and push it into its designated position.
Next, we will guide you through identifying the gasket’s position, removing the old gasket with a screwdriver, and cleaning the area for new gasket installation.
Identifying the Gasket’s Position
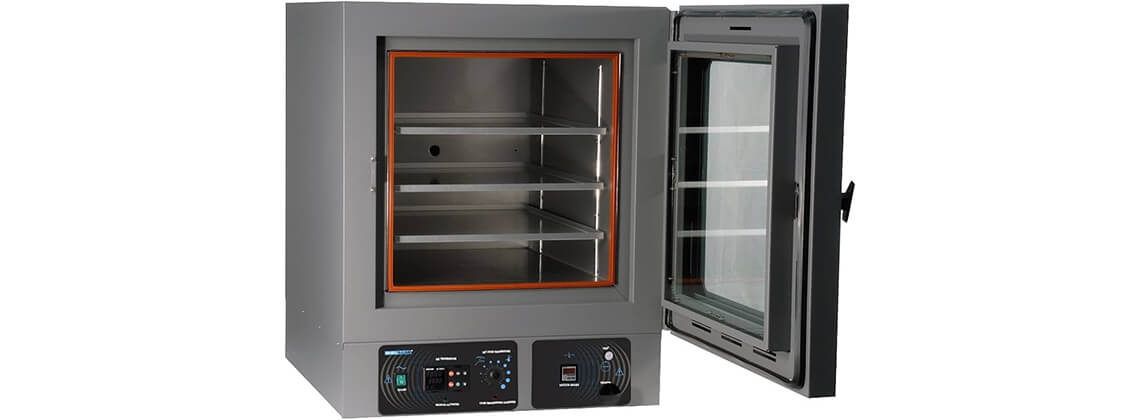
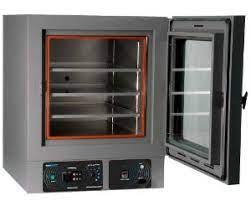
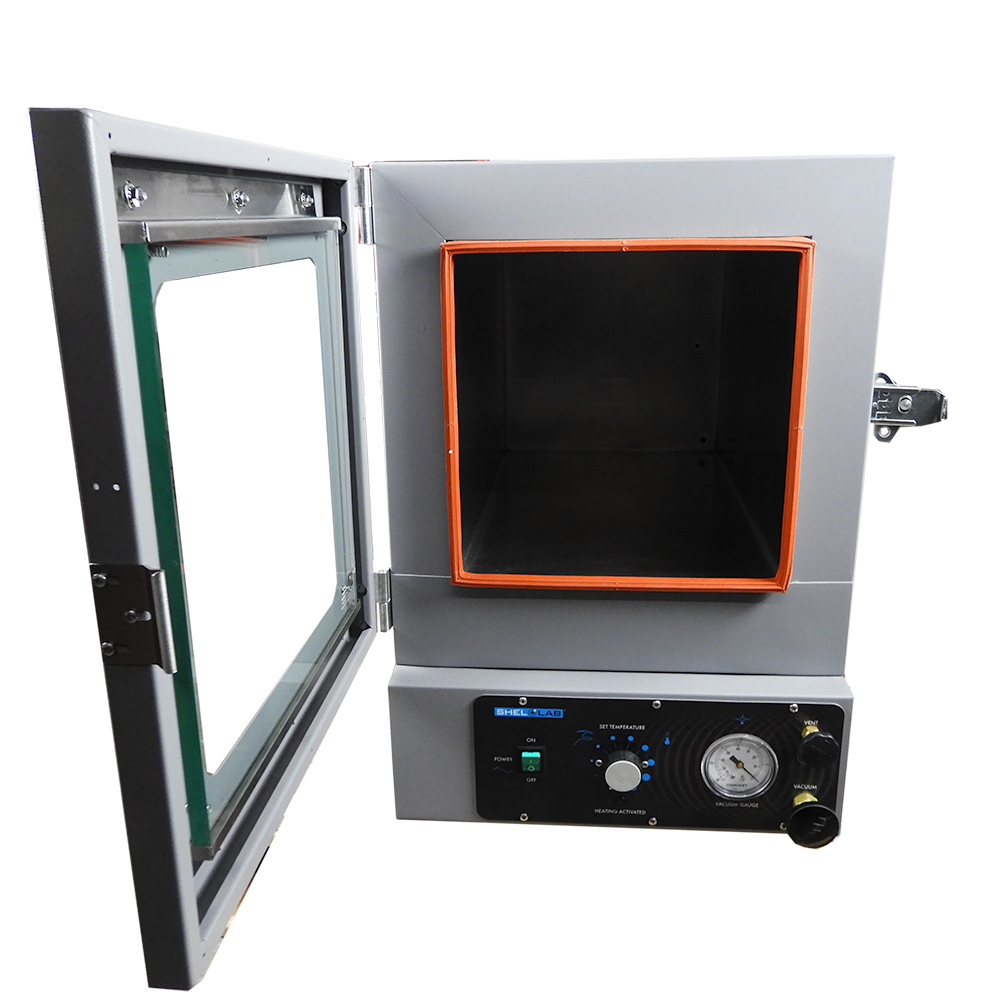
The initial step in replacing an oven door gasket is to locate the worn gasket on your oven door. The oven door gasket is typically situated in a channel either along the frame of the oven or on the door itself. These gaskets can be made of braided fiberglass or rubber and are found in a channel along the oven frame or door.
However, if your oven door is divided into two sections and the gasket is installed between the back and front panels, it is advised to contact a professional to replace the gasket. This will ensure that the gasket is replaced properly, without causing any damage to the oven.
Using a Screwdriver for Removal
Having identified the gasket’s position, proceed to its removal. The gasket may be installed using:
- pins
- clips
- screws
- friction fitting
Depending on your oven model, to remove the gasket, gently coax it out by using possibly a screwdriver underneath the gasket. Be gentle when removing the gasket to avoid damaging the oven door.
Discard any pins, clips, or screws accompanying the old gasket after its removal. This will ensure that the new gasket is installed properly and securely, without any interference from the old gasket’s components.
Cleaning the Area
Ensure the area where the old gasket was located is clean before installing a new one. This will ensure a proper seal with the new gasket and prevent any issues with the oven’s performance. Remove any food particles or grease from the channels using a soft cloth and some warm, soapy water.
After cleaning the area, rinse it thoroughly and allow it to dry completely before unscrewing and installing the new gasket. This will ensure a secure and effective seal, helping your oven maintain optimal performance.
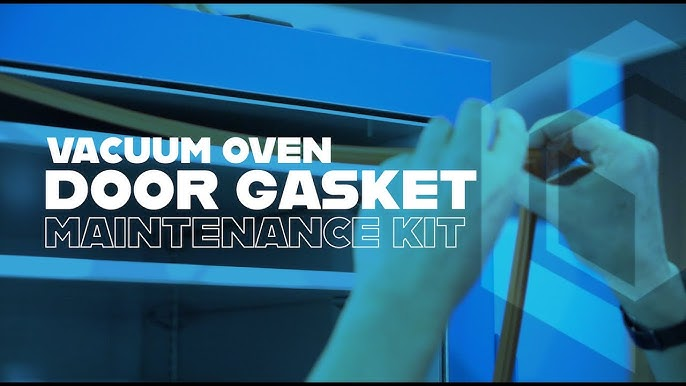
Choosing the Right Replacement Gasket for Your Sheldon Lab Oven


Selecting the right replacement gasket for your Sheldon Lab oven is crucial for optimal oven performance. When choosing a replacement, consider factors such as temperature tolerance and composition. A silicone gasket is recommended for a Sheldon Lab Oven due to its ability to resist a wide range of temperatures and pressures, making it suitable for lab oven applications.
The right replacement gasket guarantees efficient oven operation, temperature maintenance, and prolonged lifespan, and avoids unnecessary energy consumption.
Step-by-Step Guide to Installing a New Sheldon Lab Oven Door Gasket

With the right replacement gasket at hand, we’ll guide you through its installation, including aligning, securing, and testing the new gasket’s seal.
First, you’ll need to make sure the gasket is properly aligned. Make sure the
Aligning the Gasket

Aligning the new gasket properly with the oven door is key to a tight seal and optimal oven performance. Begin by verifying the placement of the prior gasket. Then, align the new gasket with the oven door, making sure it fits securely in the same position as the old one.
Once the gasket is aligned, you can proceed to fasten it with screws or pins, depending on your oven model. This will ensure that the gasket is securely fixed and provides an effective seal for your oven.
Securing the Gasket with Screws or Pins

Use the correct screws or pins for your oven model to secure the gasket. Starting at one end, insert the first pin or screw into the hole and progress around the gasket to ensure a secure installation. Be sure to conduct a visual inspection to confirm that the gasket is securely fixed.
A properly secured gasket will not only ensure optimal oven performance but also help prevent any potential issues with oven gaskets and the oven door’s seal, such as heat leaks or gaps.
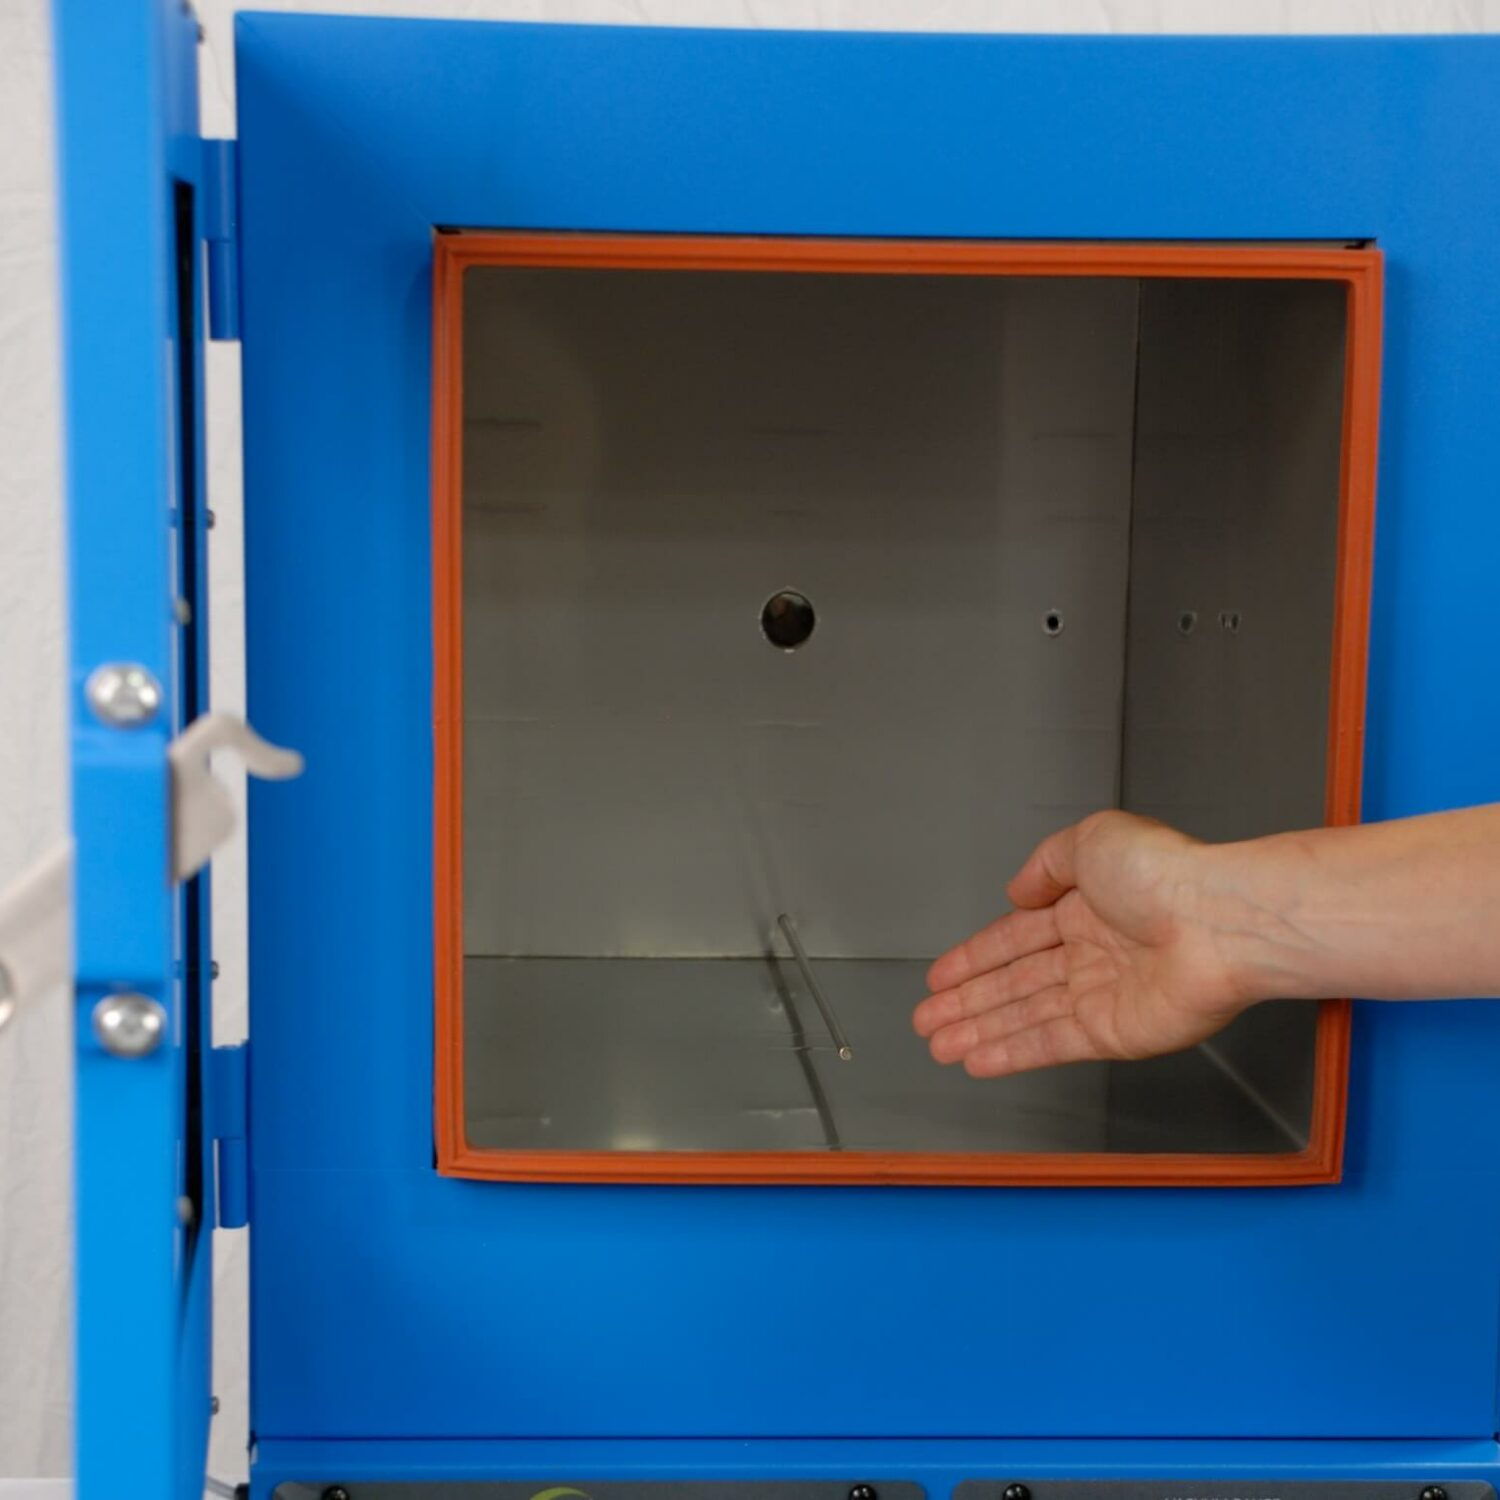
Testing the Seal
Once the new gasket is installed and secured, verify the seal’s integrity for optimal oven performance. Close the oven door firmly to verify the seal. Adjust the oven settings to the desired temperature and allow it to preheat.
To check for any air leaks or drafts emanating from the oven door gasket, place your hand near the edges of the gasket. If you don’t feel any air leaks or drafts, your oven door gasket replacement is complete, and you can enjoy the improved performance of your Sheldon Lab oven.
Ensuring Proper Oven Function After Gasket Replacement

Monitor your oven’s performance for efficient and safe operation after a successful gasket replacement. Regularly check the temperature, cooking time, and heat distribution inside the oven to confirm that it’s functioning as expected.
If you encounter any issues with your oven’s performance, try troubleshooting the problem. If you’re unable to resolve the issue, don’t hesitate to seek professional assistance for the proper maintenance of your Sheldon Lab oven.
Common Issues and Troubleshooting During Gasket Replacement
You might encounter common issues like overheating, coolant mixing with engine oil, and misfires during the gasket replacement process, which necessitates troubleshooting. Addressing these issues promptly is crucial to prevent additional damage to your oven.
To avoid frequent issues during gasket replacement, make sure to use the suitable gasket for your oven, follow the manufacturer’s instructions, and inspect the gasket for signs of wear or damage. By taking these preventative measures, you can ensure a smooth gasket replacement process and maintain the efficiency of your Sheldon Lab oven.
Professional Assistance for Sheldon Lab Oven Door Gasket Replacement
In case of difficulties or uncertainties about replacing your Sheldon Lab oven door gasket, consider seeking professional assistance. Professionals can help you identify the correct gasket for your oven, ensure proper installation, and address any issues that may arise during the replacement process.
To obtain contact information for professional assistance, visit the SHEL LAB website or contact your local SHEL LAB distributor. By seeking help from experts, you can ensure the longevity and efficiency of your Sheldon Lab ovens.
Summary
In conclusion, maintaining a well-functioning Sheldon Lab oven is crucial for any laboratory setting. By recognizing the signs of a deteriorated oven door gasket, following safety precautions, and using a step-by-step guide for gasket replacement, you can ensure your oven operates efficiently and safely. Regularly monitoring your oven’s performance and seeking professional assistance when needed will help prolong the lifespan of your valuable laboratory equipment.
Certified MTP has the largest selection of Lab Ovens, Grieve Ovens Large Capacity Industrial Bench Ovens, Convection Ovens and Benchtop Ovens, Vacuum Ovens, Industrial Furnace Ovens, and Despatch Ovens
For curing concrete in the field, we recommend the Concrete Curing Box (165qt. Heat Only)
Frequently Asked Questions
What is the best glue for an oven door seal?
For an oven door seal, the best glue to use is silicone adhesive because it is heat-resistant, flexible, non-toxic, and food-safe. A common silicone adhesive is RTV Silicone adhesive.
Can you glue a rubber seal on the oven door?
Yes, you can glue a rubber seal on an oven door with either RTV Silicone adhesive or Urethane adhesive. Oven seal glues offer a secure way to do so and come with a cut-to-size nozzle for precise control of the sealant size.
How do I know if my Sheldon Lab oven door gasket needs replacement?
If you notice uneven cooking, heat leakage, or visible damage like cracks, tears, or fraying, your Sheldon Lab oven door gasket likely needs replacement.
What safety precautions should I take when replacing an oven gasket?
For safety, be sure to disconnect the power supply, cook it, turn off the gas valve, wear protective gloves, and lock the oven door overnight after replacing the gasket.
How do I remove the old gasket from my oven?
Carefully use a screwdriver to extract the old gasket from underneath without damaging the oven door.
Related Blogs to Sheldon Lab Ovens:
Muffle Furnace: Unlocking the Benefits
Benchtop Muffle Furnaces for Laboratories
The Importance of Material Testing Ovens
Key Considerations for Choosing Your Industrial Oven or Furnace
Ignition Oven: A Guide to NCAT Asphalt Content Furnace Tech
Understanding Rolling Thin Film Oven Testing Equipment
Despatch Oven: The Power of Industrial Ovens and Furnaces
Laboratory Convection Oven: Benefits and Applications
The Benefits of a Lab Convection Oven
Gravity Convection Oven: Unlock the Benefits
Replacing a Sheldon Lab Oven Door Gasket
A Guide to Grieve Ovens and Industrial Oven Manufacturing
An Overview Despatch Oven: The Leader in Industrial Ovens
The Ultimate Guide to Industrial Oven Manufacturers
Find the Perfect Heat Treat Oven for Your Needs
Quincy Lab Ovens: Discover the Benefits
Vacuum Oven: Unlocking the Benefits
The Benefits of a Drying Oven for Industrial Applications
The Benefits of Lab Oven for Heating and Drying
What is Pyrolytic Oven Cleaning and Is It Worth it?
Get the Best Lab Oven for Your Research
Field Oven vs Laboratory Oven: Which is More Accurate?


