


When planning your construction project, it is essential to consider the Importance of proctor compaction test for soil at your desired location. This blog post will delve into soil engineering, discussing the importance of proctor soil compaction test, its history, purpose, types, and the practical benefits it bring to construction projects. We will also share the steps for carrying out this test.
Whether or not you are building a modern interstate highway or a simple 2 bedroom apartment, the soil beneath you shouldn’t be taken lightly.
Soil, the most fundamental and easily accessible building resource, is the basis for our structures.
But here’s the problem with soil: it’s not as simple as simply shoveling it in and praying for the best.
To ensure construction projects’ long-term viability, stability, and safety, we must understand how to manipulate soil properly.
However, to understand it, a soil compaction test must be performed.
A soil compaction test is crucial because it can determine the success or failure of a structure. The most common of such tests is the Proctor compaction test.
This test helps you determine the density of a specific type of soil, hence serving as the foundation for all engineered compacted soil placements for embankments, pavements, and structural fills.
What is the importance of a proctor compaction test in soil?
The Proctor soil compaction test determines the maximum dry density for any soil, crucial for ensuring structural stability and preventing settling damage. While field tests offer preliminary results, labs typically conduct the Proctor test.
In addition to field tests, laboratory testing is best practice, as lab testing is a standard of regulatory bodies like the American Association of State Highways and Transportation Officials (AASHTO) and the American Society for Testing and Materials (ASTM).
Laboratories also provide access to a wider array of test types, such as static and vibration testing, for the most accurate results possible.
What is the purpose of the Proctor soil compaction test?
The Proctor soil compaction test reveals a soil sample’s moisture-density relationship — in other words, how its density changes with moisture content.
It also shows the maximum density achievable for that particular soil type.
The moisture level when the soil is at peak density is called the optimum moisture content.
The information gathered from the soil compaction tests is then used as reference points for field testing, generally before groundwork begins.
The Proctor soil compaction test is essential because soil types vary by site and region.
Grain size, distribution, shape, and the presence of clay minerals and the soil’s initial moisture content, can change dramatically from one location to another.
These variables are the reason that the Proctor test is an ASTM and AASHTO standard.
History of Proctor compaction test
The Proctor soil compaction test isn’t just a modern innovation; it has a fascinating history dating back to the 1930s.
This test owes its name to Ralph R. Proctor, a Los Angeles Department of Water and Power field engineer.
In 1933, Proctor introduced a revolutionary laboratory procedure. This procedure aimed to define the practical maximum density of a soil sample and identify the optimum moisture content required to achieve that density.
The result was a breakthrough that gave engineers and builders a standardized method to measure and control soil compaction.
The Proctor test’s historical significance lies in its ability to provide clear guidance on the moisture content needed for adequate soil compaction.
This innovation transformed the construction industry, ensuring solid ground for building foundations and creating the Importance of proctor compaction test.
Types of proctor compaction test
While the Proctor soil compaction test is a well-established standard, it comes in two variations: the standard Proctor test and the modified Proctor test.
Each version serves a unique purpose in the realm of soil engineering.
The standard Proctor test
The standard Proctor test, detailed in ASTM D698 and AASHTO T 99 test methods, is the foundational method. It uses a 5.5-pound compaction hammer that drops from a height of 12 inches to compact soil samples.
This method, also called the moisture-density relationship test, is suitable for many construction projects, providing reliable results for various soil types.
The modified Proctor test
On the other hand, the modified Proctor test, specified in ASTM D1557 and AASHTO T 180, was introduced in the 1950s. It accounts for the heavier dynamic loads experienced by modern construction projects, such as larger aircraft and heavier truck traffic.
In this method, a 10-pound hammer is used, and it drops from a greater height of 18 inches.
The modified Proctor test results in lower optimum moisture content and higher maximum density for soil, making it suitable for high-load applications.
You may also like: Standard Proctor and Modified Proctor Tests.
Materials needed for the standard Proctor soil compaction test
As mentioned above, two versions of the Proctor soil compaction test exist. The modified versions of the test can be performed for soils with exceptionally high densities, but today we’ll be focusing on the standard version.
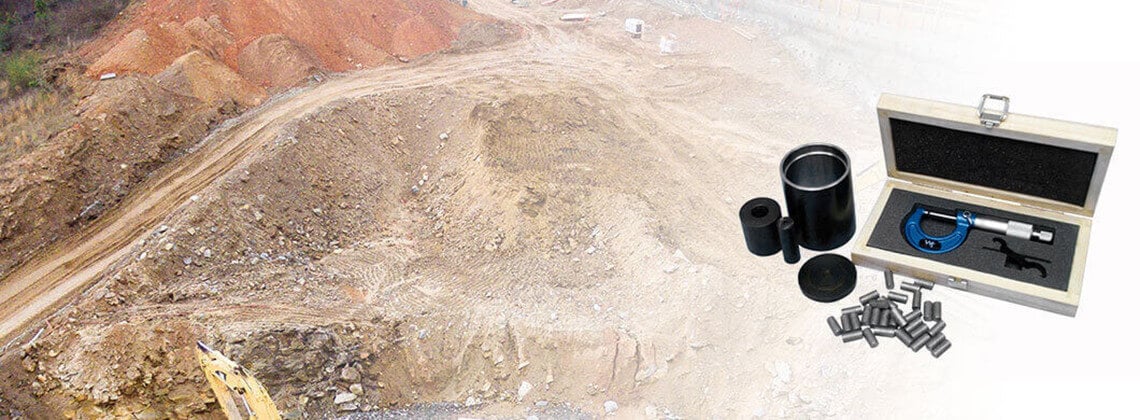
To perform the standard Proctor soil compaction test, you’ll need specific equipment and materials. Here’s a list of the essentials:
1. Sieves
2. Heavy-duty zip bags or sealed metal cans for moisture conditioning of soil specimens
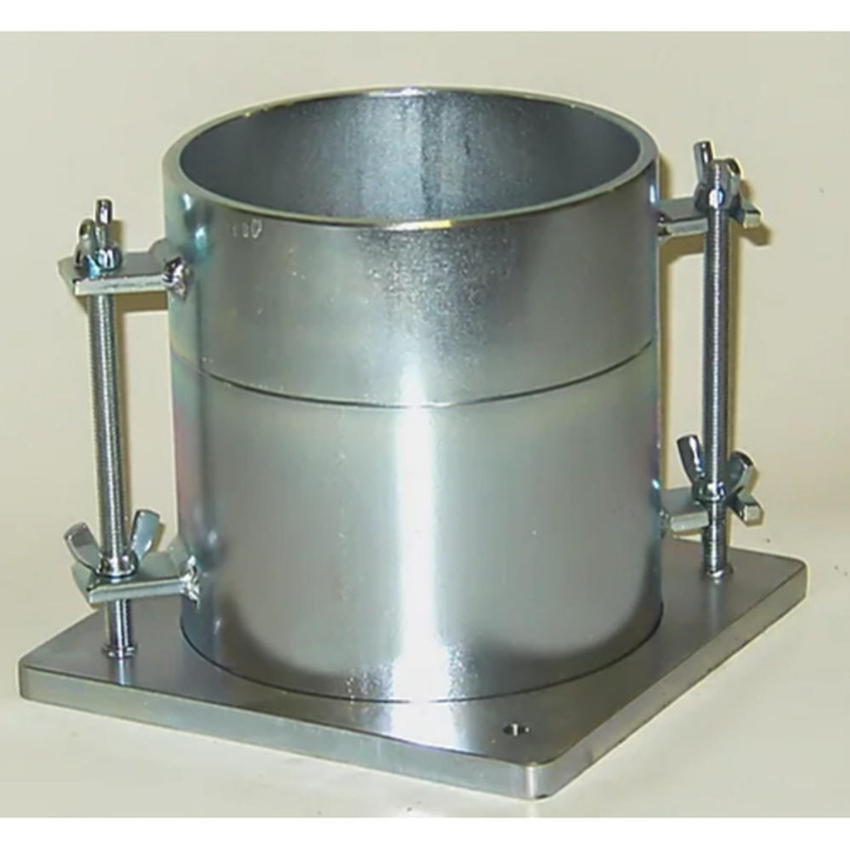
3. Soil compaction mold(s)
4. Straight edge for leveling soil in molds


5. 5.5 lb. soil compaction hammer/dropping weight


6. 12″ drop
7. 3-5 layers (lifts) of soil

9. Drying oven


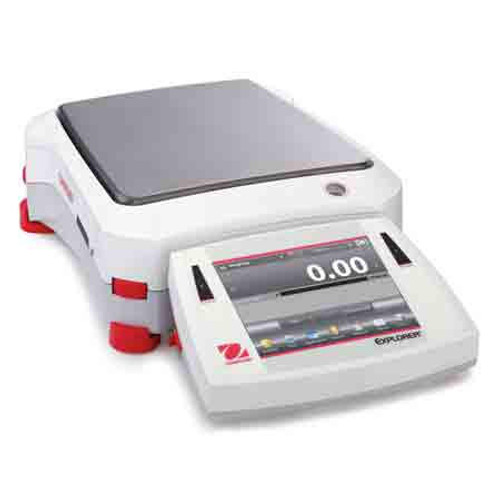
10. Pans for drying and mixing
When used correctly, these tools allow you to conduct the Proctor soil compaction test with precision, ensuring accurate results for your construction project.
Procedures for performing the Proctor compaction test
Before you start, a note: Determining particle size is an important precursor to the Proctor test. To produce accurate results, soil particles larger than 2 mm will require a modified version of the Proctor soil compaction test.
As you sift the soil, the coarser minerals can be used to determine particle size. They can then be added back to the final test specimens to get the most accurate representation of the soil at a site.
Once you’ve confirmed that the particle size is 2 mm or smaller, you can proceed with the standard Proctor soil compaction test by following these steps and in discovering the importance of proctor compaction test.
Step 1: Prepare about 5 soil samples


To prepare the samples, sift the particles and gradually air-dry them to a range of moisture contents starting around 10% or more below your anticipated optimum moisture content up to that much above it.
Among your samples, include one that is representative of your approximate/estimated optimum moisture content.
Then, seal them up for 16 hours for proper moisture conditioning.
Step 2: Compact the soil
Press the soil into the Proctor soil compaction mold in three to five layers (lifts) using the straight edge and soil compaction hammer/drop weight.
Then weigh the sample. Oven-dry the mold and weigh the sample again.
Step 3: Evaluate your results
Use wet mass/weight and dry mass/weight to calculate the exact moisture content of each sample. The moisture content of the sample with the highest dry weight reveals the optimal moisture content of the location’s soil for maximum dry density.
You now also have enough information to calculate the maximum dry density (the density you’ll want at your construction site) using the following formulas:
- Bulk Density = weight of the compacted soil in grams/volume of the compacted soil in milliliters
- Dry Density = Bulk Density/(1 + % optimal moisture content, expressed as a decimal)
Tips for a more effective soil compaction test
While you can perform much of the Proctor soil compaction test manually, several machines can automate the process, reducing strain on you.
Here are some tips to implement next time you perform a Proctor test.
Tip 1: Easy reference for optimum moisture content
There is a simple trick for estimating optimum moisture content in your soil.
The optimum moisture level should be roughly equivalent to the moisture level in a soil sample that stays put when you manually lump it together but breaks apart cleanly if you try to “bend” the top.
It’s an easy tactile and visual cue to help you know you’re getting close to the correct water content.
Tip 2: Expedite initial air-drying
If you are preparing cohesive soil samples, the initial air-drying process can be expedited if you break down large clumps in the soil. Just be sure not to crush the individual particles.
Tip 3: Use a soil ejector
A soil ejector can be used to get your specimen out of soil compaction mold more wholly and efficiently. Standardizing this process ensures that you get the most accurate dry weight measurement possible.
Tip 4: Invest in an automatic soil compactor
Instead of repeatedly dropping a soil compaction hammer or drop weight to manually compact your soil specimens, let automatic soil compactors do it for you.
On top of reducing how much effort you have to put into the test, an automatic compactor will enhance repeatability and accuracy to give you the best possible results.
You may also like: Atterberg Limits Test: Plasticity of Fine-Grained Soils.
Importance of Proctor Compaction Test
The Proctor soil compaction test offers a multitude of benefits for construction projects, making the Importance of the Proctor compaction test indispensable.
Here’s why it’s an indispensable tool:
Increased bearing capacity and stability
By determining the optimum moisture content and maximum density, the test enhances soil stability and load-bearing capacity, ensuring the longevity of structures.
Reduced permeability
Compacted soil has lower permeability, decreasing the risk of water infiltration and erosion.
Minimized heaving
Properly compacted soil is less susceptible to heaving caused by freeze-thaw cycles.
Erosion control
Compacted soil provides effective erosion control, which is crucial for environmental and safety considerations.
Reduced subsidence
Compacted soil minimizes subsidence, preventing settling and damage to structures.
Incorporating the Proctor soil compaction test into your construction project can significantly improve its durability, stability, and long-term performance. This is the Importance of proctor compaction test.
Takeaway: Understanding the importance of the proctor compaction test will enhance your construction project
Understanding the importance of proctor compaction test is essential for anyone involved in soil engineering and construction.
This test, with its historical significance and various applications, lays the bedrock upon which stable and safe structures are built.
The Proctor soil compaction test empowers engineers and builders to make informed decisions by accurately determining soil density and moisture content, ensuring that construction projects stand the test of time.
Looking for a high-quality soil compaction tool? Certified MTP has the equipment you need to perform any kind of soil testing at your construction site.
Let us help you run accurate tests and make structures built to last for the importance of proctor compaction test
Find everything you need for the Proctor soil compaction test on our website.


