


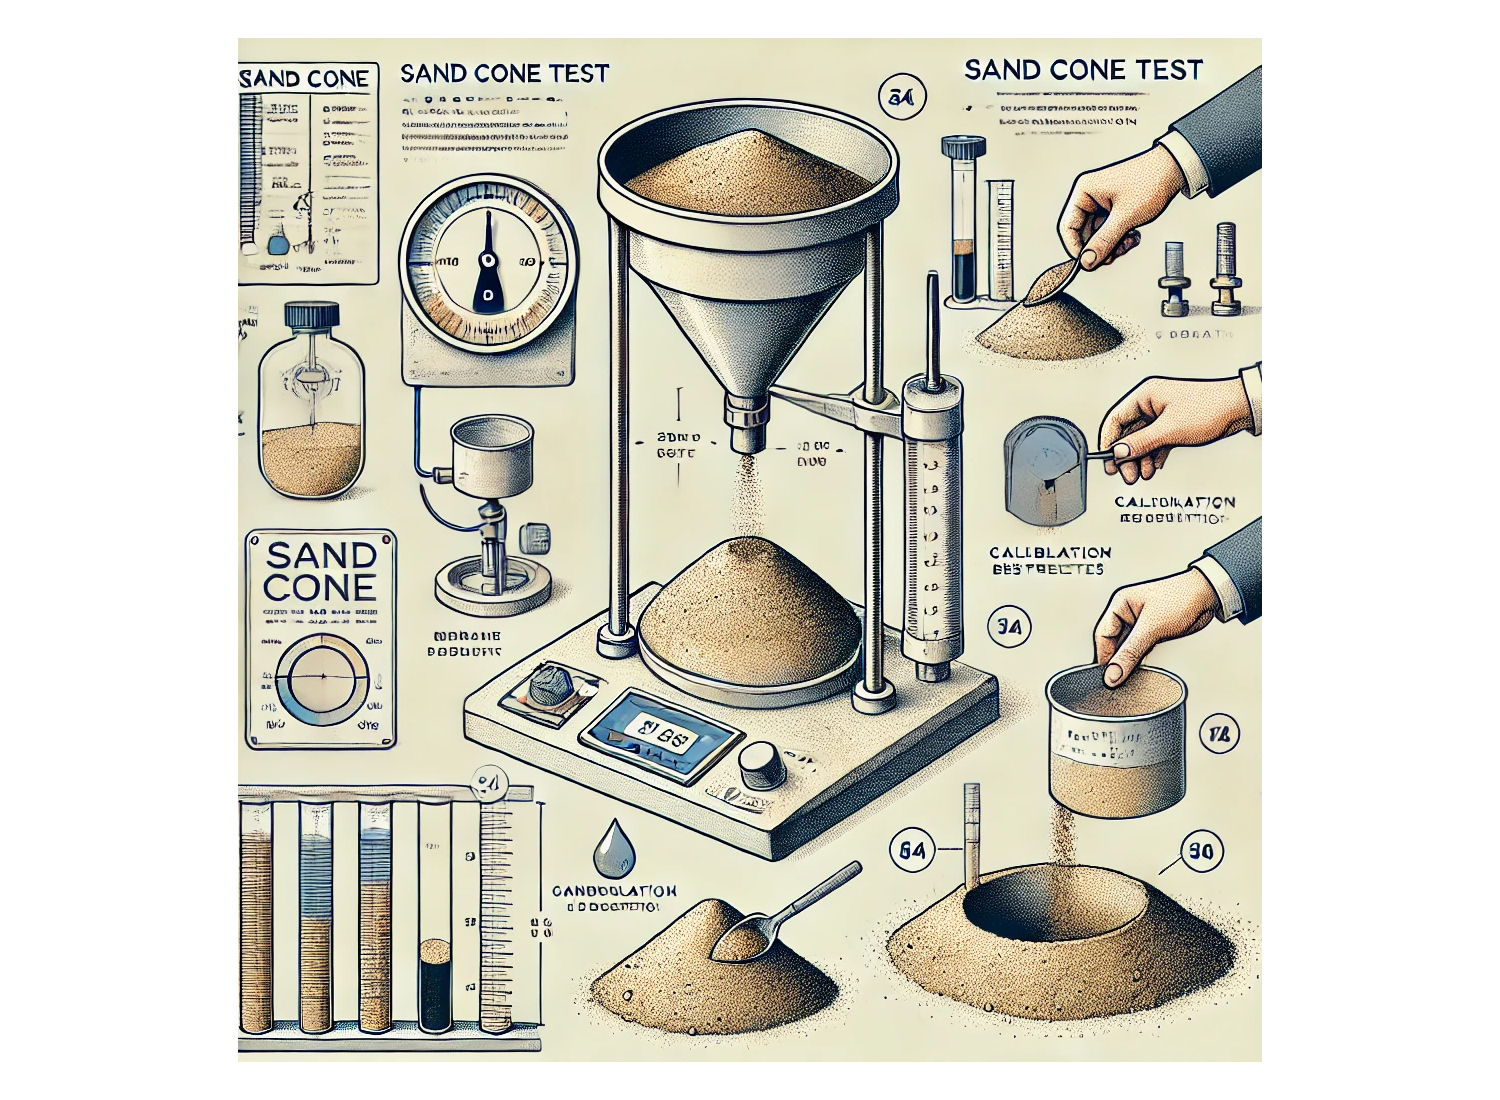
Soil testing is one of the underpinnings of civil engineering, giving us a deeper understanding of the ground we build upon. Among the myriad of tests available, the sand cone field soil density test stands out for its simplicity, yet it provides critical information about soil’s in-place density.
It’s an important test to perform because, if the soil does not have the proper dry soil density, it could increase compromise structural support, potentially putting lives at risk.
The sand cone test illuminates the level of soil compaction—a key factor when laying foundations, paving roads, and other construction projects. While the procedure may seem direct, mastering it requires art and technical know-how.
This blog will dive deep into the techniques involved, ensuring accurate results and sharing best practices you should follow.
Understanding the Sand Cone Test: What Type of Soil is it Suitable For?
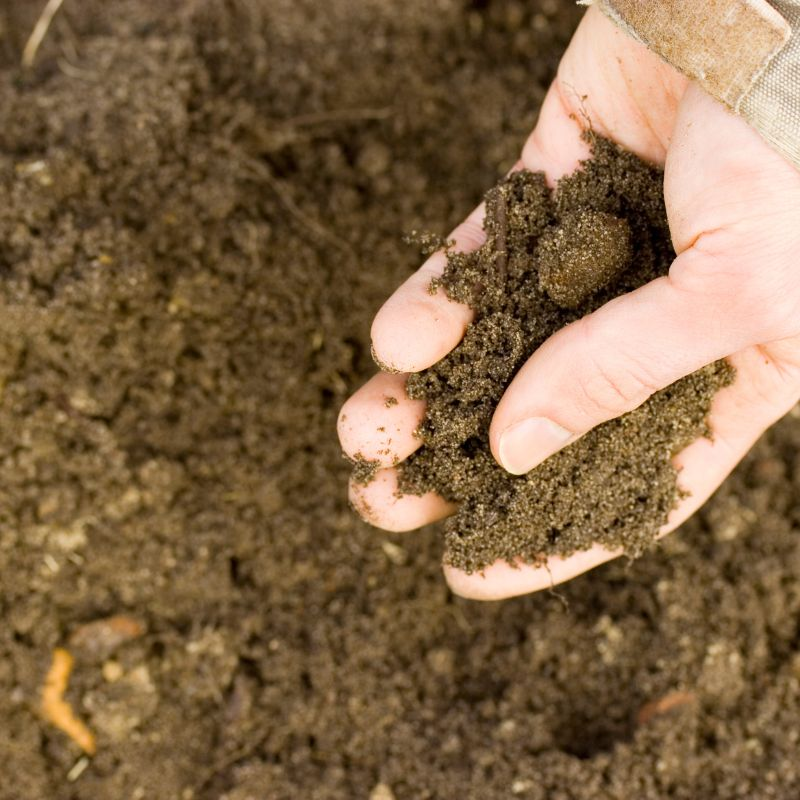
The sand cone is used to determine the in-situ dry soil density and the in-place density of soils. It’s especially effective for soils that are granular in nature. It means soils with coarser maximum particle size, like sands and gravels, are ideal candidates.
These types of soils have larger voids or spaces between particles, making them amenable to the sand displacement method employed by the test.
Now, you might be wondering: What about clays or silts? The answer lies in their cohesive nature. Fine-grained soils, like clays, tend to be cohesive, making it hard for the sand in the cone test to displace the soil uniformly.
Thus, the accuracy of the test can be compromised. While containing somewhat coarse material than clays, silts can still exhibit enough cohesion to skew the results.
While the sand cone and this method is a versatile and invaluable tool for soil testing, its best results are achieved when used on granular soils.
Read also:Importance of Proctor Compaction Test in Soil Engineering.

Apparatus and Equipment Required for the Sand Cone Apparatus Test
The sand cone test only requires a few simple, relatively inexpensive pieces of equipment. All the necessary sand cone test equipment is listed at CertifiedMTP.
While dry density and wet sieving follow similar principles, wet sieving requires specific supplies. You need these supplies in your lab to perform the procedure accurately and efficiently. They include:
- Trowel: Used for digging the hole at the job site and extracting your sample.
- ASTM Sand: Used to find the volume of your hole — standardized for ASTM specifications.
- Plastic Sand Bags: Used to collect the soil and retain moisture content until the test can be performed.
- Scale: You must weigh your sand cone equipment and sand and soil samples with scales.
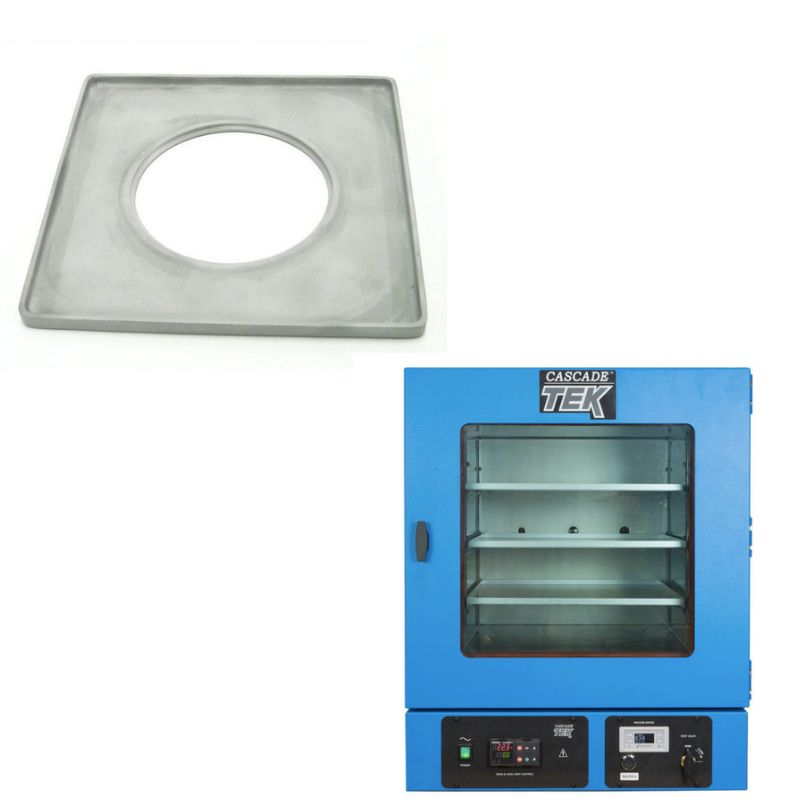
- Compaction Mold: Also known as a Proctor mold, it is used at the beginning of the sand cone test to find the weight of dry sand.
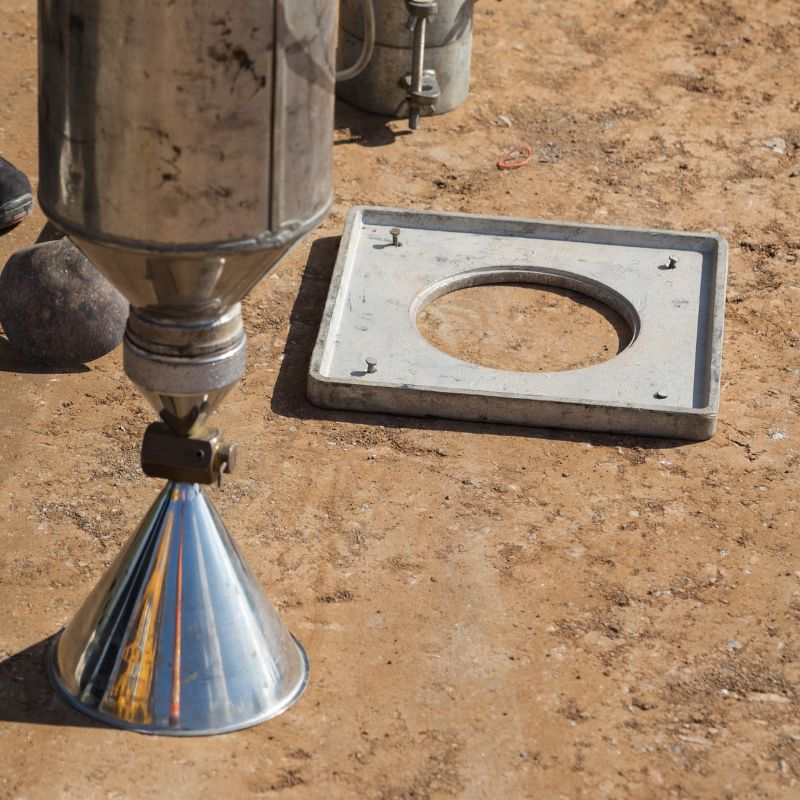
- Field Density Plate: Used as a guide for digging and sand filling your hole with the proper amount of sand.
- Sand Cone Density Apparatus: A plastic jar coupled with a detachable cone fitting that is threaded on one end to stop or allow the flow of sand.
- Evaporating Dish: Used to weigh and dry moist samples.
- Vacuum Oven: You must dry your sample of same soil over 24 hours to eliminate as much moisture content as possible.
When testing coarse soils or gravel, a larger hole may be necessary to ensure accurate results.

Procedures for Performing the Sand Cone Test
With the necessary equipment gathered, you can now perform the sand cone field density test using simple steps and easy equations.
Step 1: Find the Dry Weight of Sand
To perform the first portion of the sand cone field density test, you must gather your scale, soil compaction mold, and sand.
First, record the weight and volume of your compaction mold. Then, record the weight of the mold filled with dry sand.
Once you have obtained these values, subtract the combined weight of the sand and compaction mold from the starting weight of the mold and divide the difference by the mold’s volume.
It will give you the dry weight of sand.
That is: (Weight of Mold & Sand – Weight of Mold) ÷ Volume of Mold = Dry Weight of Sand.
Step 2: Determine the Weight of a Cone Full of Sand
Bring out your empty sand cone apparatus and record its weight. Ensure the cone thread is open, and carefully pour the dry sand from your compaction mold into the dry-density apparatus.
Record the weight of the device now that it has been filled with sand.
After weighing, close the cone and flip the entire apparatus upside down, placing the mouth of the cone on the table. Open the thread again and allow the sand to pour out while the cone is on the table until no more sand can come through.
Close the cone again and return your apparatus to the proper position, leaving the discarded sand on the table. Weigh the apparatus with its remaining sand.
Now, you simply need to take the difference between the first value (apparatus and sand) and the second value (apparatus and sand minus a coneful) to find the weight of a coneful of sand.
You should also subtract the apparatus’s weight to find the sand’s accurate weight.
Weight of Apparatus & Sand – Weight of Apparatus & Sand2 – Weight of Apparatus = Weight of a Coneful of Sand.

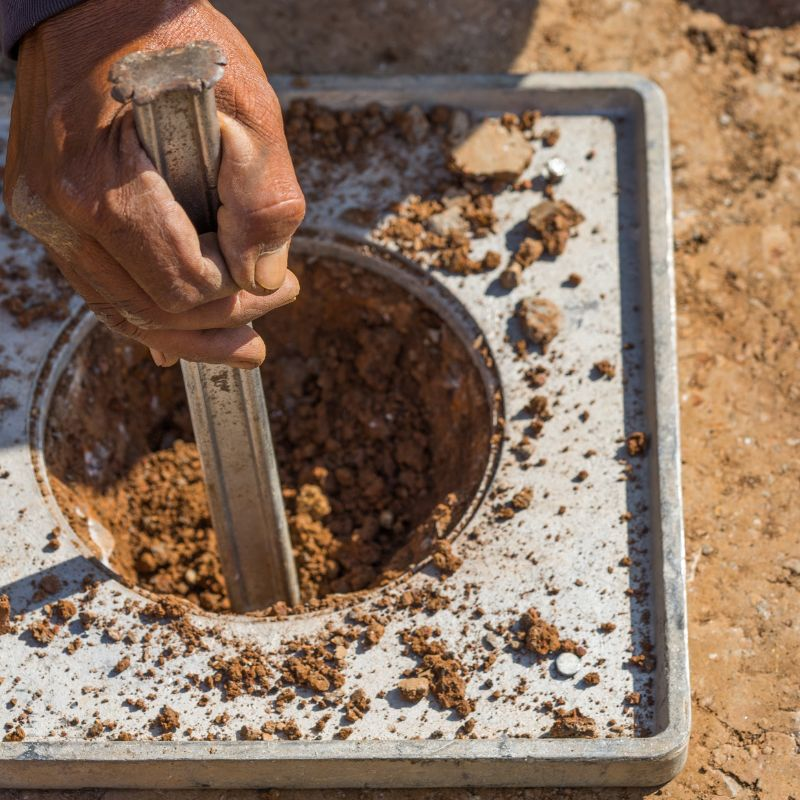
Step 3: Prepare the Hole & Collect Your Soil
Now that you have your initial values, it is time to dig. First, secure your field maximum dry density plate to the soil.
Use your trowel to dig a hole 10cm deep. Do this by using the circular cutout in the center of the base plate.
As you dig, place your soil in a plastic sandbag so it doesn’t lose moisture content before weighed.
Step 4: Determine the Volume of the Hole
Now that the hole is prepared, you can calculate its volume to determine accurate test hole volumes. Take your sand cone apparatus with the remaining sand and ensure the thread is closed. Tip the apparatus over and place it above the hole in the base plate.
the thread and allow the sand to pour out until it stops, indicating that it has filled the hole. Close the thread again and lift the apparatus away. Re-record the weight of the apparatus.
You can calculate the volume of the hole by subtracting the weight of the sand cone density apparatus.
Now, subtract the weight of a coneful of sand. This is done because it includes the sand in the hole that filled the apparatus when it is lifted.
Also, subtract the amount of space between the base plate and the hole’s surface. This small volume could skew your results.
Accounting for the coneful of sand and the thickness of the base plate is known as the cone correction factor. Add the weight of a coneful of sand and the thickness together to simplify the calculation.
Calculation for Sand Cone Test
Weight of Apparatus & Sand – Weight of Apparatus & Sand3 – Cone Correction Factor ÷ Dry Weight of Sand = Volume of Test Hole.

Step 5: Determine the Moist Weight of the Sample
To determine the moist weight of soil, you will first need to take the weight of your evaporating dish. Add the soil to the dish and weigh it again.
You can now calculate the moist unit weight of the soil.
Subtract the weight of the moist soil from the weight of the evaporating dish with the moist soil in it and divide the difference by the volume of the hole to determine the moist unit weight of the soil.
Weight of Evaporating Dish & Wet Soil – Weight of Soil ÷ Volume of Test Hole = Moist Unit Weight of Soil.
Step 6: Determine the Moisture Content of the Soil
After calculating the moist unit weight of your soil sample, place the dish and soil in a vacuum oven and allow the soil to dry until it reaches a constant weight.
To achieve this, dry your sample at around 221°F for 24 hours, adding more time if needed. When dry, you can calculate the water content of the soil (expressed as a percentage) with the following equation:
Weight of Wet Soil – Weight of Dry Soil ÷ Weight of Dry Soil – Weight of Evaporating Dish = Water Content of Soil.
The moist unit weight and water content of the soil are both critical values to be aware of before construction. This is because the moisture content can significantly change the maximum dry density of soil, hinder its strength, and alter the way a structure settles.
Precautions to Take When Conducting the Sand Cone Test
While straightforward in its methodology, the sand cone method requires meticulous care to yield accurate results. Firstly, ensuring the test site is free from disturbances is vital.
Avoid conducting tests immediately after rain or when the soil is overly moist, as water can skew results. Before starting, check that the sand used for the test method is uniformly dry and of known dry density.
Furthermore, be attentive when excavating the soil sample. The hole should be consistent in shape and free from loose particles at the sides or base.
While pouring sand from the cone, maintain a steady, continuous flow to prevent air gaps or pockets from forming.
The apparatus itself needs regular checks for calibration and any potential leaks.
Lastly, environmental factors like wind can disrupt the sand flow and skew the test result.
Setting up a windbreak or selecting a less windy day for testing might be a good idea. By taking these precautions, you are setting the stage for results that truly reflect the soil’s maximum density.
Benefits of the Sand Cone Test
The sand cone field density test method is a commendable instrument. Its charm lies in its simplicity, offering an affordable and direct way to measure soil density.
The test becomes indispensable when examining soil compaction, which ensures construction robustness and safety.
This test gives engineers insights to better plan road construction and infrastructure projects.
The mobile design of the equipment allows for on-site testing. This cuts down on wait times. The sand cone test method is a dependable, swift, and hands-on approach to tackling diverse ground engineering obstacles.
Takeaway: Understand the Techniques and Best Practices of the Sand Cone Test
Navigating the intricacies of soil testing can be challenging. But, the sand cone field density test is a beacon of simplicity and effectiveness. It is vital for assessing soil density, impacting construction safety and project quality.
We unlock its full potential by following best practices and mastering its techniques. As with all things foundational, understanding and respecting the process makes all the difference.
Please check out CertifiedMTP for all your soil testing equipment. We have several tools to help you complete all the tests to build on solid ground!
Related Blogs
Determining Unit Weight of Concrete for Accurate Measurement


