


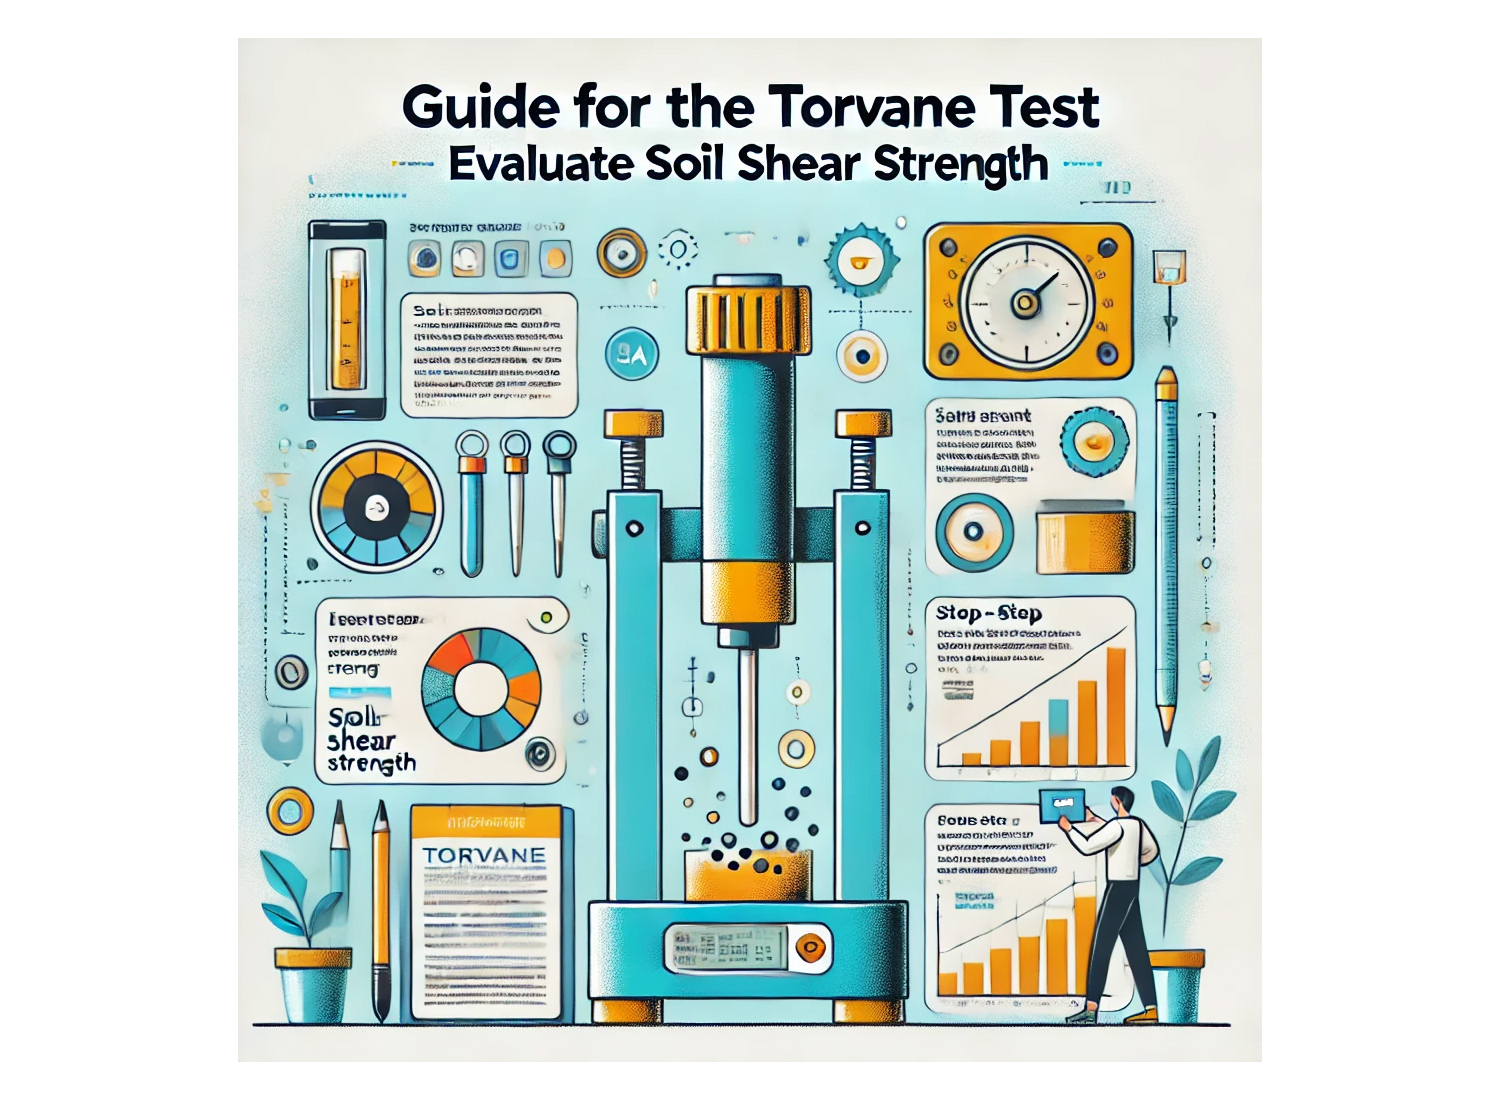
From towering skyscrapers to sprawling roadways, every engineering marvel stands on the firm foundation of soil. But how well do we understand this versatile yet complex natural material? One of the most crucial properties of soil, especially in the context of construction and engineering, is its shear strength. Enter the Torvane Test, a swift and efficient method for evaluating the shear strength of cohesive soils.
Key Takeaways from the Torvane Test
-
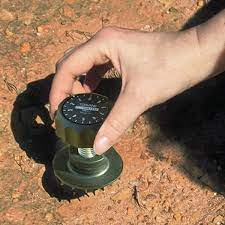
Use the Torvane Shear Test, a pocket-sized device, to measure soil shear strength on-site.
- Factors like water content, gradation, dry density, and soil structure influence the soil’s capacity for various geotechnical applications.
- Proper handling and storage of equipment are essential for accurate results. Regular calibration and documenting test conditions are also crucial best practices when conducting the Torvane Shear Test.
Understanding the Torvane Shear Test

The Torvane Shear Test, performed using a torvane shear tester, includes:
- An all-metal driver that fits in the palm of your hand
- Three vanes with varying shear strength ranges
- Laminated instructions
- A carrying case with a carabiner clip
The Torvane Shear Test is designed to be used in various field conditions.
This pocket-sized powerhouse, with its indicator needle, can churn out readings in the range of 0-2.5kg/cm2.
Make sure the surface maintains a reasonably flat surface. The desired diameter should be approximately equal to around 25mm. The plastic pocket shear vane, the heart of the apparatus, is used to take on-site measurements of:
The Basics of Shear Strength
Soil shear strength, or shear resistance, is the soil’s ability to withstand shear forces or deformation. This attribute is crucial for engineers assessing the stability and load-bearing capacity of structures. These structures range from everyday buildings to engineering marvels like bridges and dams.
Engineers use various tests to determine soil shear strength, and they widely recognize the Torvane test as a reliable method for measuring this vital property.
Several factors that can influence the shear strength of soil include:
- Water content
- Gradation
- Dry density
- Soil structure
Knowledge of soil shear strength proves practical in areas such as foundation design, slope stability analysis, stability prediction of structures, and a variety of geotechnical applications.
Why Cohesive Soils?
Cohesive soils are primarily fine-grained soils like clay that exhibit a high degree of attraction between particles. The Torvane Shear Test, designed to measure the shear strength of fully saturated cohesive soils, offers results independent of normal pressure. Cohesive soils often have high unconfined compressive strength, a key property measured in the Torvane Shear Test. Their specific properties, such as unconfined compressive strength (Qu) and undrained shear strength (Su), make them suitable for the Torvane test.
The clay structure of cohesive soils influences the relationship between water content and undrained shear strength. Their high clay content and particle adhesion provide increased stability and reduce the risk of erosion. This makes cohesive soils advantageous for many construction and engineering projects.
Rapid Determination Advantage
One of the main advantages of the Torvane Shear Test is its speed and efficiency in determining soil shear strength. Unlike more advanced laboratory and in-situ test techniques, the Torvane test offers a rapid approach for assessing soil shear strength.
Although the test’s speed does not directly impact project timelines or productivity, it provides essential data early in the project. This data contributes significantly to the design and construction phases.
Setting Up for Success: Preparing for the Test
Now that we understand the Torvane Shear Test, let’s explore the practical aspects of preparing for it. Preparation is key to the test’s success. It involves selecting the right surface, preparing the soil sample, and ensuring the equipment is ready.
Selecting the Right Surface
The first step in preparing for the Torvane Shear Test is selecting an appropriate surface. A reasonably flat or 2-inch diameter surface is optimal. Consider factors such as allowable skin friction, ultimate shear strength, and effects of shear strain on the soil when choosing the surface.
The surface type, especially the soil’s moisture content, significantly influences the test’s accuracy. Moisture can lead to a situation where the soil matrix fails.
Preparing the Soil Sample
After selecting the right surface, the next step is to prepare the soil sample. This involves:
- Obtaining an undisturbed soil sample from the desired location using split spoon samples method
- Trimming the soil sample into a cylindrical shape with a height-to-diameter ratio of approximately 2:1
- Removing any loose particles or debris from the soil sample before placing it into the Torvane shear device.
The process for testing soil using the Torvane shear device is as follows:
- Place the soil sample into the Torvane shear device, ensuring that it is centered and level.
- Apply a vertical load to the soil sample using the Torvane device.
- Gradually increase the load until failure occurs.
Ensuring Equipment Readiness
The final step in the preparation process is ensuring the readiness of the equipment. Regular maintenance, such as cleaning and greasing the lead screw, is vital for the proper functioning of the vane shear apparatus. Regular servicing of the Torvane testing equipment, in line with the manufacturer’s recommendations, is also a requirement.
Having the Torvane shear device properly calibrated and prepared for the test is a prerequisite for obtaining accurate and reliable results.
Conducting the Torvane Shear Test
Having selected the right surface, prepared the soil sample, and ensured the readiness of our equipment, we are now ready to conduct the Torvane Shear Test. The process involves inserting the vane, applying normal pressure, and reading the results.
Inserting the Vane
The first step in conducting the Torvane Shear Test is to insert the vane into the soil sample. Here’s how:
- Attach the vane to the torque head of the Torvane apparatus.
- Insert the vane vertically into the soil sample.
- Continue inserting until the vane is completely submerged.
A constant rotational force is then applied to the vane at a rate of 6 degrees per minute. The vane is rotated until failure is observed, indicated by a sudden drop in torque or a noticeable deformation of the soil.
The maximum torque value achieved before failure is then recorded as the shear strength of the soil.
Applying Normal Pressure
The next step is to apply normal pressure during the test. During the Torvane Shear Test, a downward pressure must be applied using a torvane shear tester, strength rameter or a torsional ring shear test device. Maintaining consistent pressure throughout the test is essential for obtaining accurate results. The amount of normal pressure applied should take into account factors such as:
- sample pre-consolidation pressure
- saturation back pressure
- shearing rate
- height of the specimen
- consolidation stress
Reading the Results
The final step in conducting the Torvane Shear Test is to read the results. The Torvane Shear Test allows measurements ranging from 0 to maximum reading 2.5 TSF (1 Kg/cm2) in 0.05 TSF (0.05 Kg/cm2) increments. The readings indicate the soil’s approximate shear strength, providing accurate results for soils with low shear strength, typically less than 0.3 kg/cm2.
The Torvane device measures the resistance encountered by the vane as it penetrates the soil, thereby providing measurable increments.
Analyzing Test Results
The Torvane Shear Test is only as good as the analysis of its results. Proper analysis allows us to understand the failure planes, ascertain undrained strength independent of extensive laboratory testing, and decide when to use three vanes.
Understanding Failure Planes
A failure plane refers to the plane along which a soil specimen experiences shear deformation. Analyzing these failure planes also provides valuable insight into the shear strength of the soil and can be used to assess its stability and engineering properties.
Examining the failure plane allows for accurate and rapid determination of the soil’s shear strength and provides insights into its behavior under different loading conditions.
Undrained Strength Independent of Extensive Laboratory Testing
One of the major advantages of the Torvane Shear Test is that it provides undrained strength results without the need for extensive laboratory testing. The test offers:
- An inexpensive and straightforward approach to measure the shear strength of soils
- Elimination of the need for extended laboratory testing
- On-site performance
The Torvane test is a reliable method for assessing undrained strength due to its reasonable agreement with the results of unconfined compressive testing.
When to Use Three Vanes
The use of three vanes in a Torvane Shear Test is to ensure stability and precise measurement of the soil’s shear strength. When testing cohesive soils or soil with high shear strength, using three vanes during the Torvane test is recommended.
By distributing the applied torque more evenly, the use of three vanes can result in more dependable and consistent test results.
Troubleshooting Common Issues
Like any testing process, conducting the Torvane Shear Test may come with its own set of challenges. It’s important to acknowledge these potential issues and learn how to troubleshoot them effectively.
Soil Chunks Removed During Testing
Sometimes during the Torvane Shear Test, soil chunks may be removed to accurately measure shear strength, reduce interference from non-cohesive particles, and standardize test conditions. Removing soil chunks can affect the test results by compromising the shear strength properties of the other soil chunks being tested.
Preventative measures to prevent soil sample failure include:
- Careful soil sample preparation
- Gentle pressure application
- Suitable vane size selection
- Conducting the test in a controlled environment
Inconsistent Readings
Inconsistent readings may occur during the Torvane Shear Test due to disturbances generated during:
- boring
- sampling
- testing
- failure or loading conditions
To address this issue, multiple readings should be taken at each test point and averaged. This helps reduce the effect of any outliers or inconsistencies in the measurements.
Additionally, ensuring the Torvane device’s proper calibration and adhering to standardized testing procedures is important.
Dealing with Non-Ideal Conditions
In some cases, the conditions for the Torvane Shear Test might be less than ideal, such as in clays with sand or silt laminations and fissured clay. To adapt the test for high moisture content in soil, measures like pre-drying the soil sample, adjusting the test procedure, or utilizing specialized equipment can be taken.
Likewise, factors such as temperature and moisture should be considered as they can greatly affect the interpretation of Torvane Shear Test results.
Best Practices for Torvane Shear Testing
To ensure the efficacy of the Torvane Shear Test, it’s important to adhere to some best practices. This includes proper handling and storage of the equipment, regular calibration, and documenting test conditions.
Proper Handling and Storage
Handling the Torvane testing equipment properly is vital to maintain its accuracy and longevity. Regular maintenance, such as cleaning and greasing the lead screw, is vital for the proper functioning of the vane shear apparatus.
It’s also important to store the Torvane testing equipment in a clean and dry environment when not in use. For optimal protection, it’s advised to keep it in a protective carrying case or box to prevent any damage or contamination.
Regular Calibration
To ensure the Torvane testing equipment’s accuracy, regular calibration is essential. Over time, instruments may experience drift in their readings. Calibration helps rectify any discrepancies and maintain the reliability of the equipment.
The calibration process involves applying a known torque to the vanes, recording the dial gauge reading, and repeating the process multiple times to calculate an average reading for accuracy.
Documenting Test Conditions
For accurate interpretation of the Torvane Shear Test results, documenting test conditions is a must. This documentation should include:
- Test date and time
- Test location
- Test equipment
- Sample preparation
- Test procedure
- Test duration
- Test conditions
- Any pertinent observations made during the test.
Accurate and comprehensive documentation preserves the authenticity of the interpretation process.
Summary of Torvane Test
In conclusion, use the Torvane Shear Test to swiftly, efficiently, and reliably determine the shear strength of cohesive soils. Understand the test’s procedures and principles, prepare appropriately, conduct the test, and interpret the results accurately. Follow best practices to ensure accurate results and contribute to the safe and effective construction of engineering marvels.
Frequently Asked Questions about Torvane Test
What does Torvane measure?
Torvane measures the approximate shear strength of cohesive soils in both the field and laboratory. It uses blades pressed into the soil, and the knob rotates until the soil matrix fails. The indicator needle retains the maximum reading.
What is the difference between torvane test and pocket penetrometer?
The Torvane Test measures shear strength in weakly and moderately indurated sediments. The Pocket Penetrometer works better for slightly indurated sediments. The Torvane is a small, handheld device with a spring-loaded vane blade that users press into the sample and turn.
What does shear vane test for?
Geotechnical engineers use the shear vane test to measure the undrained shear strength of fully saturated cohesive soil without causing any disturbance. The equipment consists of a rod with vanes mounted on it. They insert the rod into the ground and rotate it, providing a simple, quick, and cost-effective way to estimate soil shear strength.
How does the Torvane Shear Test work?
The Torvane Shear Test involves inserting a vane into soil and rotating it until the soil fails, providing an approximate shear strength value.
What are the benefits of the Torvane Shear Test?
The Torvane Shear Test offers the advantage of quickly and accurately measuring soil shear strength without the need for extensive laboratory testing.


