


Looking for ideas on a practical way to refine your compost? A sieve is essential for filtering out large particles to achieve the perfect texture for your garden. In this guide, we’ll explore how choosing or crafting a sieve for compost can enhance your gardening, provide tips for making your own, and discuss maintenance to ensure longevity. Let’s dive into the world of compost sieving to keep your soil fertile and your plants thriving.
Key Takeaways
- A sieve for compost separates unfinished materials from compost, improving soil texture and potentially reducing the need for chemical fertilizers.
- DIY sieves for compost are cost-effective and can be customized to fit individual gardening needs, with a 2×3 foot wood frame and 1/4 inch mesh recommended.
- Maintaining your sieve for compost is crucial for its longevity, involving regular cleaning, proper drying, and protective storage to prevent damage.
Understanding the Benefits of a Sieve for Compost

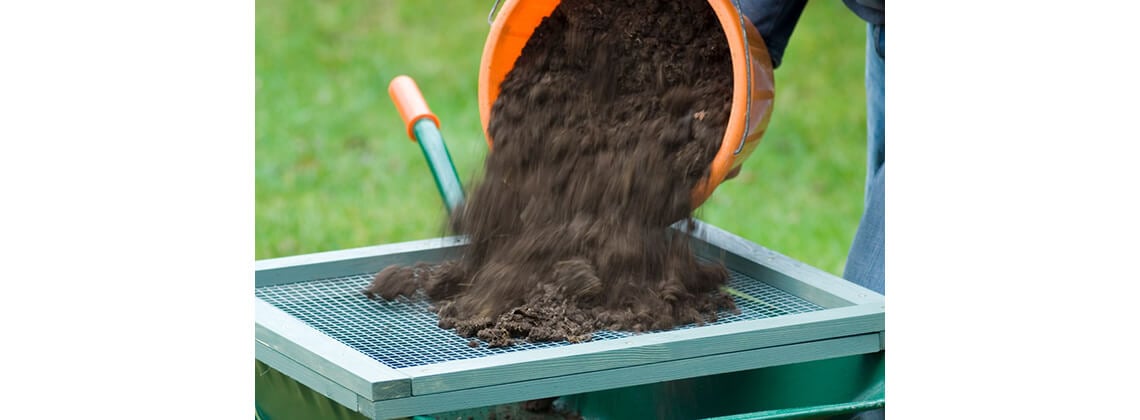
A sieve for compost, also known as a compost sieve or a sifting screen, is a simple device that can make a world of difference in your composting routine. Its primary role is to separate the coarse, unfinished material from the finished compost, ensuring you have uniform, fine-textured compost to nourish your garden. But a compost sifter does more than just separate; it’s a key player in enhancing your soil and gardening experience.
Sifted compost improves your soil texture significantly, making it wonderfully light and fluffy. This not only makes it easier to spread across your garden but also boosts your soil’s condition, especially in heavy clay soils or when using potting soil. It also ensures the removal of larger, undecomposed materials, thus preventing any obstruction of your gardening tools during soil preparation.
Sifting your compost has several benefits:
- It enhances seed germination by removing larger pieces and debris, facilitating better contact between seeds and the fine soil.
- Compost enriched with nutrients like nitrogen, phosphorus, and potassium through sifting may potentially reduce or even eliminate the need for chemical fertilizers.
- It’s a win-win for both your garden and the environment!
Crafting Your Own Compost Sieve
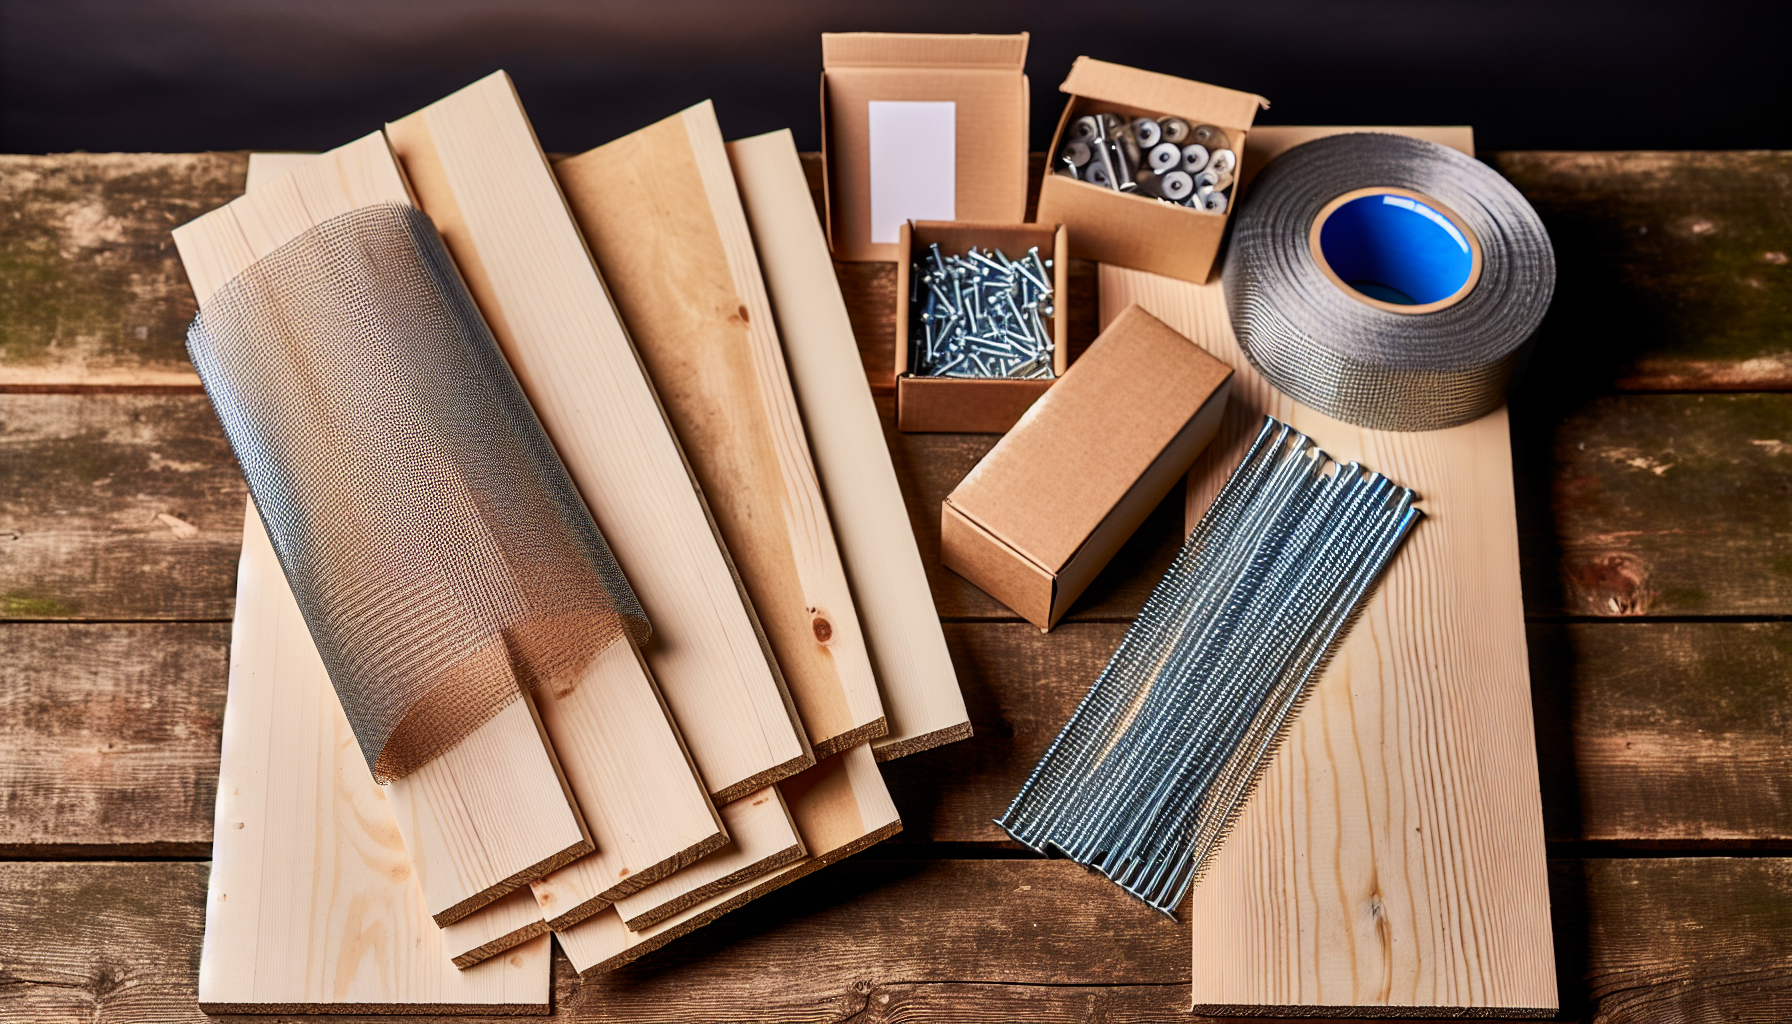

Ready to reap the benefits of a sieve for compost? How about crafting your own? It’s a simple, cost-effective project that requires basic materials like:
- 2×3 or 2×4 boards
- 1/4 inch hardware cloth
- 3” screws
- 3/8” T50 staples
The recommended size for a DIY compost sifter is 2’ x 3’, with the length of the sides measuring 3’ and the ends being slightly shorter at 2’9”.
Selecting the Perfect Mesh Size
The mesh size for your compost sifter plays a vital role. The size of the mesh will affect the texture of the compost, resulting in either a fine or coarse finished product. It is important to consider the mesh size when determining the desired compost consistency. A 1/4-inch hardware cloth is recommended for the DIY compost sifter. Why, you ask? Well, it’s sturdy and has small enough holes to produce a desirable soil size.
While a smaller mesh size like 1/8 inch may seem appealing for an ultra-fine compost, it can lead to increased effort during sifting. Trust us, sifting compost through such small holes can be a workout! The 1/4 inch mesh diameter is generally adequate for most gardening needs and offers a balance between sifting ease and desirable soil size.
Constructing the Wood Frame
Having decided on the mesh size, you can now begin constructing the wood frame for your compost heap. The frame should be large enough to effectively process compost over a standard pile or container, with a standard size being 36” x 24”. However, if you have a custom container like a wheelbarrow with rounded corners or sides, you may need to modify the dimensions, say 36” x 18.5”, to ensure a proper fit.
During assembly, remember that stability is key. Here are some tips to ensure a robust and durable compost sifter frame:
- Use two screws at each corner of the frame to ensure stability and withstand the shaking motion during sifting.
- Assemble the frame with screws instead of a pneumatic nailer for a more resistant structure.
- Avoid placing the screws too close to the edge of the boards to prevent the wood from splitting.
Attaching the Wire Mesh
Upon completing the frame, proceed to secure the hardware cloth or wire mesh. Here’s how:
- Cut the mesh to size so that it fits perfectly with the edges of the wood frame.
- Roll it out over the frame before securing it.
- Starting from one corner, keep the mesh taut and staple it to the wooden frame at intervals of approximately 3 inches.
- This helps to ensure a secure fit.
After securely attaching the wire mesh, use tin snips or wire cutters to trim any excess and hammer down sharp ends. This crucial step helps prevent accidental injuries during the sifting process. There you have it—your very own DIY compost sifter is ready for action!
Streamlining Your Composting Process


Now that your compost sifter is prepared, we can discuss how to use it for a more efficient composting process. Here’s how:
- Spread the compost out over the sifter with your hands as you start the process. This will help ensure an even distribution and smoother sifting.
- Breaking up clumps and pushing the compost across the screen ensures an even distribution, making the sifting process more efficient.
- As you sift, the larger debris will remain on top of the screen, separating the fine soil from the coarse material.
Concerning the sifter’s handling, incorporating handles can significantly enhance its usability. It makes it easier to shake, improving the sifting process, and rendering it more user-friendly. You can attach a set of cheap handles from a hardware store to the sides of your compost sifter, and voila! Sifting compost is now a breeze.
Enhancing Garden Soil with Sifted Compost


Having mastered the sifting process, you are ready to enjoy its benefits. Adding sifted compost to garden soil before planting can significantly optimize soil density, which is crucial for healthy root development and robust plant growth. It also enhances the soil’s ability to hold onto nutrients by improving cation exchange capacity, facilitating better plant nutrition.
But that’s not all! Sifted compost can also:
- Adjust the soil pH to better meet the nutritional requirements and pH preferences of various plants
- Contribute to increased plant resistance against diseases and pests
- Help suppress weed growth by inhibiting weed seed germination and addressing nutrient imbalances that weeds often exploit.
Sifting compost is particularly valuable for:
- Fine-textured applications like lawn top-dressing or creating seedling potting mixes
- Providing an ideal light covering over seeds, supporting their germination and growth
- Ensuring better seedling development for seed starting and transplanting
- Placing larger materials at the bottom of pots when using sifted compost for seed starting mixes to prevent interference with seed germination.
So, whether you’re a novice gardener or a seasoned green thumb, sifted compost is a game-changer!
Maintaining and Storing Your Compost Sifter

Similar to other garden tools, your compost sifter also requires regular care for optimal performance. Here are some tips for maintaining your compost sifter:
- Regularly clean your compost sifter to remove debris.
- Wash it with water to prevent rust and deterioration.
- Thoroughly dry the sifter, especially if it’s made of metal, to ensure no rust forms on it.
By following these maintenance tips, you can ensure that your compost sifter stays in good condition and continues to work effectively.
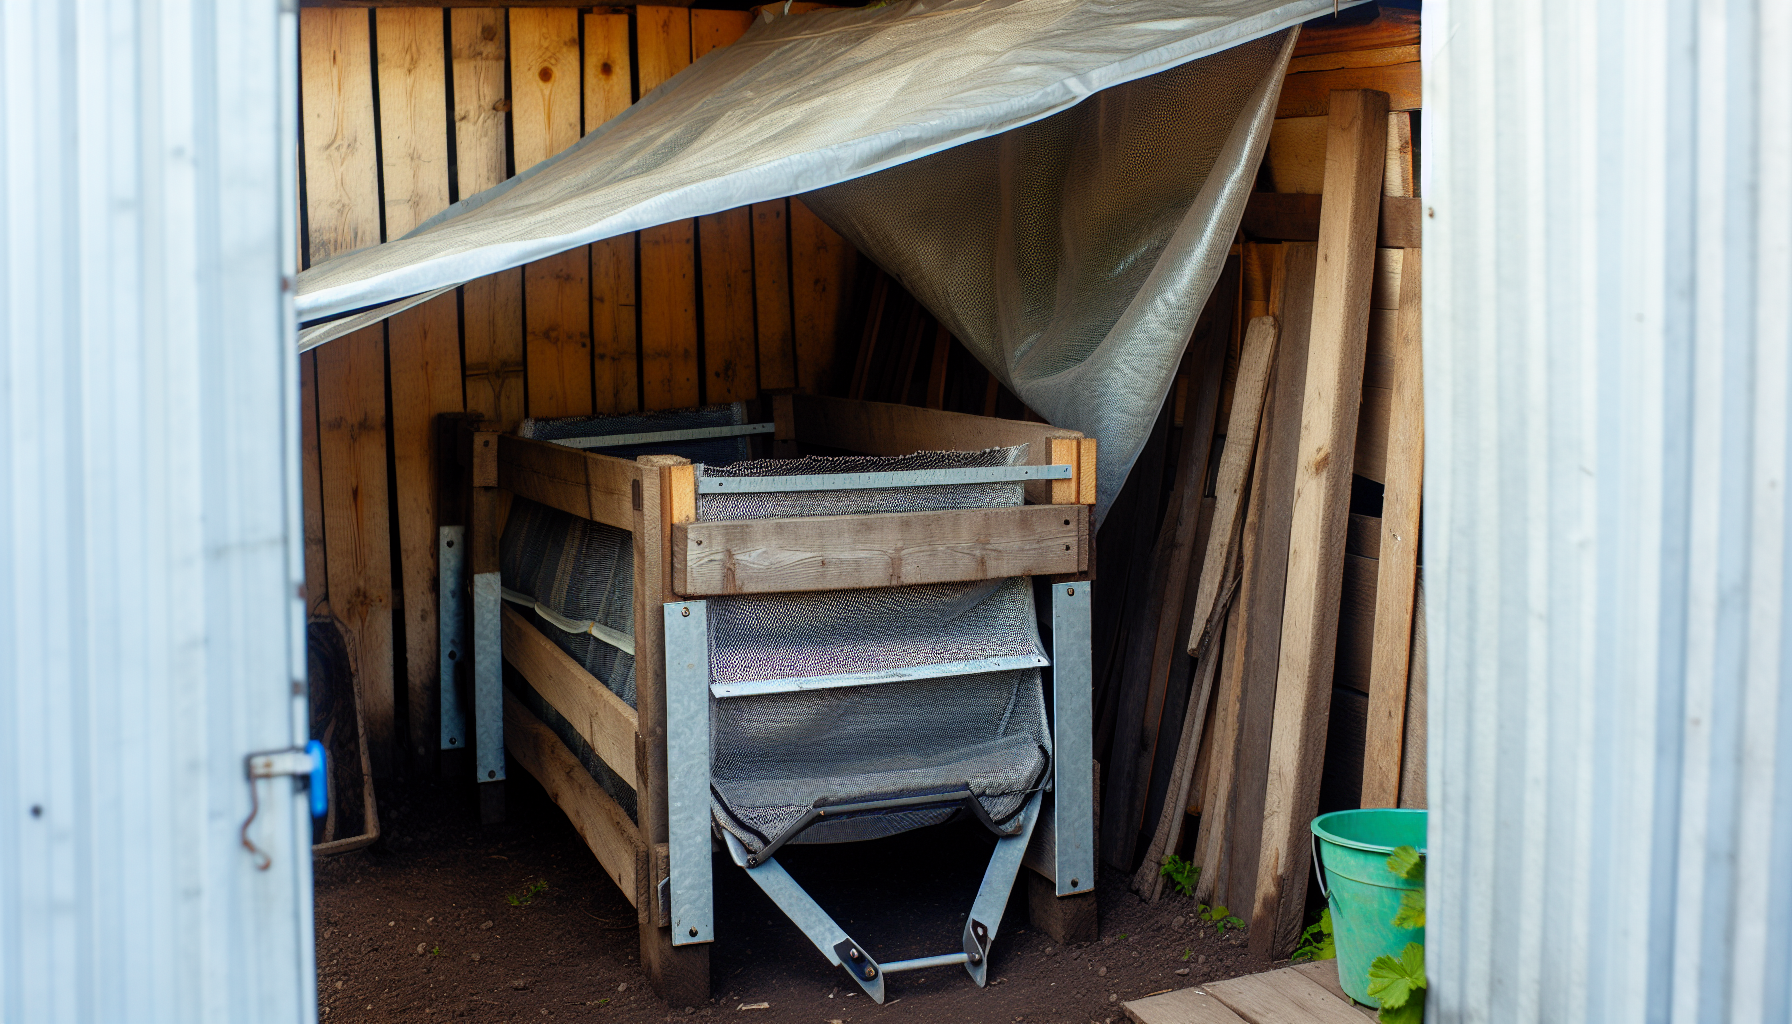
To extend the lifespan of your compost sifter, follow these tips:
- Store it in a dry, covered area away from direct exposure to the elements.
- When it’s not in use, cover it with a tarp or similar protective covering to keep it clean and ready for action.
- Regularly inspect it for signs of wear or damage, such as tears in the mesh or loose screws.
- Repair any damage to maintain functionality.
By following these tips, you can ensure that your compost sifter lasts for a long time.
If your compost sifter has a wooden frame, treat the wood with a weather-resistant sealant to prevent rotting and extend the sifter’s durability. With proper care and careful maintenance, your compost sifter will serve you for many years to come!
Creative Uses for Unsifted Compost Material
During sifting, you will certainly encounter compost materials that aren’t fully broken down. But don’t toss them out! They can be reintroduced into the compost pile to continue their breakdown. You can also start new compost piles with layers of:
- food scraps
- manure
- straw
- unsifted compost materials
This is known as ‘compost lasagna’ and it enhances microbial diversity and decomposition.
Larger pieces from unsifted compost add essential structure to new compost piles, helping maintain proper aeration and preventing the pile from becoming overly wet and smelling. What’s more, wood chips and larger debris separated by the compost sifter can be repurposed as garden pathways, providing structure to the garden while also decomposing over time to enrich the soil. With composting, nothing goes to waste!
Troubleshooting Common Compost Sifting Issues
Like all gardening procedures, compost sifting might pose some challenges. Moist compost can form difficult-to-sieve balls, leading to clogging of the compost sifter mesh. To mitigate this, it’s recommended to dry the compost as a thin layer before sifting. If the compost sifter still struggles with wet compost and gets clogged, a different sifting method or equipment that can handle wet compost might be necessary.
Large debris, like corn cobs in compost, can be broken into smaller pieces to aid decomposition. Bones that break down could be crushed to add minerals back into the compost. Additionally, oversized lumps of dirt may not affect the compost’s utility and can be manually broken up to avoid tool obstruction. Don’t let these minor hiccups discourage you. With a little troubleshooting, you’ll be back to sifting in no time!
Tailoring the Compost Sifter to Your Needs
Just as with any tool, your compost sifter should cater to your needs. So why not tailor it to your specific needs? If your compost sifter is cumbersome to move, installing wheels or casters can greatly improve its portability and ease of storage. Some store-bought compost sifters offer features like handles and wheels, which can facilitate easier handling and transportation. But there’s nothing stopping you from adding these to your DIY sifter!
The beauty of a do-it-yourself compost sifter is that it can be crafted to snugly fit over a wheelbarrow. This showcases the flexibility of homemade solutions to accommodate different garden cart sizes. After all, gardening should be a joy, not a chore!
DIY vs. Store-Bought Compost Sieves
The timeless discussion of DIY versus store-bought also applies to compost sieves. A DIY compost sifter can be tailored to specific needs and allows for modifications or repairs by the creator, whereas store-bought sifters provide a quick, standard solution. Building a DIY compost sifter may be more cost-effective than purchasing a pre-made model, but purchasing a compost sifter saves time and offers convenience by being ready to use upon purchase.
Store-bought compost sifters typically feature:
- Durable materials and construction, leading to prolonged lifespan and performance
- Professional manufacturing, providing sophisticated features and ensuring they can handle the weight of soil
- Manufacturer warranties and customer support, add a layer of value and peace of mind for gardeners
In contrast, DIY sifters rely on the builder’s choice of materials for durability and present a technical challenge to achieve the same performance.
So, whether you opt for DIY or store-bought solutions for your flat surface, the choice is yours!
Summary
In conclusion, sieve for compost is a game-changer in the world of composting. It enhances soil texture, facilitates seed germination, reduces the need for chemical fertilizers, and even boosts plant resistance against diseases and pests. With a simple DIY compost sifter, you can streamline your composting process and create nutrient-rich, fine-textured compost for your garden. Despite minor challenges, with proper maintenance, creative reuse of unsifted compost materials, and the flexibility to customize your compost sifter, this tool is sure to become an indispensable part of your gardening routine. Happy composting!
Certified MTP has the largest selection of aggregate testing supplies, showcasing industry-leading brands for Sieve Shaker Machines, test sieves, Classification Devices for Aggregate Testing, Sample Splitters and Dividers, and Specific Gravity Test Equipment.
Frequently Asked Questions
Should I sieve my compost?
Yes, sifting your compost is recommended before adding it to your garden, as it helps to remove any large debris and ensures a more uniform and manageable consistency.
How do you make a sieve for compost?
To make a sieve for compost, you’ll need a 3-inch hardware cloth, with 1 by 1-inch squares, a wire cutting tool, and Nayla Bowl staples to secure the wire to the frame. Happy composting!
What size mesh for compost?
A 1/2”x1” mesh size is ideal for compost to provide extra protection against animal pests and worms, while a 3′ tall mesh is ideal to give the compost the mass it needs to heat up.
How can I streamline the sieve for compost process?
To streamline the sieve for compost process, spread the compost evenly over the sifter, break up clumps, and add handles and side pieces for better handling. This will make the process more efficient and effective.
What can I do with unsifted compost materials?
You can reintroduce unsifted compost materials into the compost pile, use them in new compost piles, or repurpose them as garden pathways. Happy fall gardening!
View the full line of Aggregate Testing Products and Aggregate Moisture Testing Equipment, especially the popular Aggregate/Sand Moisture Measurement System
Related Blogs for Sieve for Compost
Sieve Brushes for Efficient Cleaning and Maintenance
Top Scrub Brush for Concrete: Your Ultimate Cleaning Tool
Quality Lab Brushes for Efficient Cleaning and Maintenance
Retsch AS200 Sieve Shaker: Mastering Particle Size Analysis
ASTM C136: Guide to Fine and Coarse Aggregate Sieve Analysis
Sand Sieve Size: A Guide for Optimal Sifting
Sieves for Soil: Finding the Perfect Match for Gardening
Sieve Analysis of Soil: A Guide to Particle Size Assessment
Understanding Aggregate Sieve Sizes: A Comprehensive Guide
Sieve Essentials: Understanding Its Functions & Applications
Sieve Shaker for Sale: Find the Perfect Fit for Your Lab
ASTM Sieve Sizes: A Complete Sizing Chart Breakdown
Graph for Sieve Analysis: A Guide to Accurate Soil Grading
Sieve Test: A Guide to Particle Size Analysis
Top-Quality Sieves for Precise Material Separation
Sieve Mesh Sizes: Guide to Understanding Different Mesh
Sieve Shaker Selection: Find the Model for Material Analysis
Sifting with Gilson Sieves: Your Guide to Material Analysis
Gilson Sieve Shaker: Particle Size Analysis
Sieve Size Chart: Understanding Mesh and Particle Sizes
Top Standard Test Sieves for Accurate Material Analysis
Using Retsch Lab Sieves and Sieve Shakers for Analysis
What is a Shaker Sieve and Particle Sizing Analysis
Understanding ASTM D 422: Sieve Analysis and Particle Size
Sizes of Sieves: A Comprehensive Guide
Sieve Analysis: A Guide to Grain Size Distribution
Understanding Sieves: A Comprehensive Guide to Test Sieves
Selecting Sieve Sizes: Tips for Soil, Sand & Aggregate
Complete Guide to US Sieve Sizes
Gilson Company Testing Equipment: Discover Durability
Gilson Shakers: Precision Screeners & Shaker Screens


